Step #2 Design Your Boot
Model*
Model Main Colour Category* Black & Grey Brown & Tan Blue & Green Red Pink & Purple Grey Metallic & Bright Wild & Print
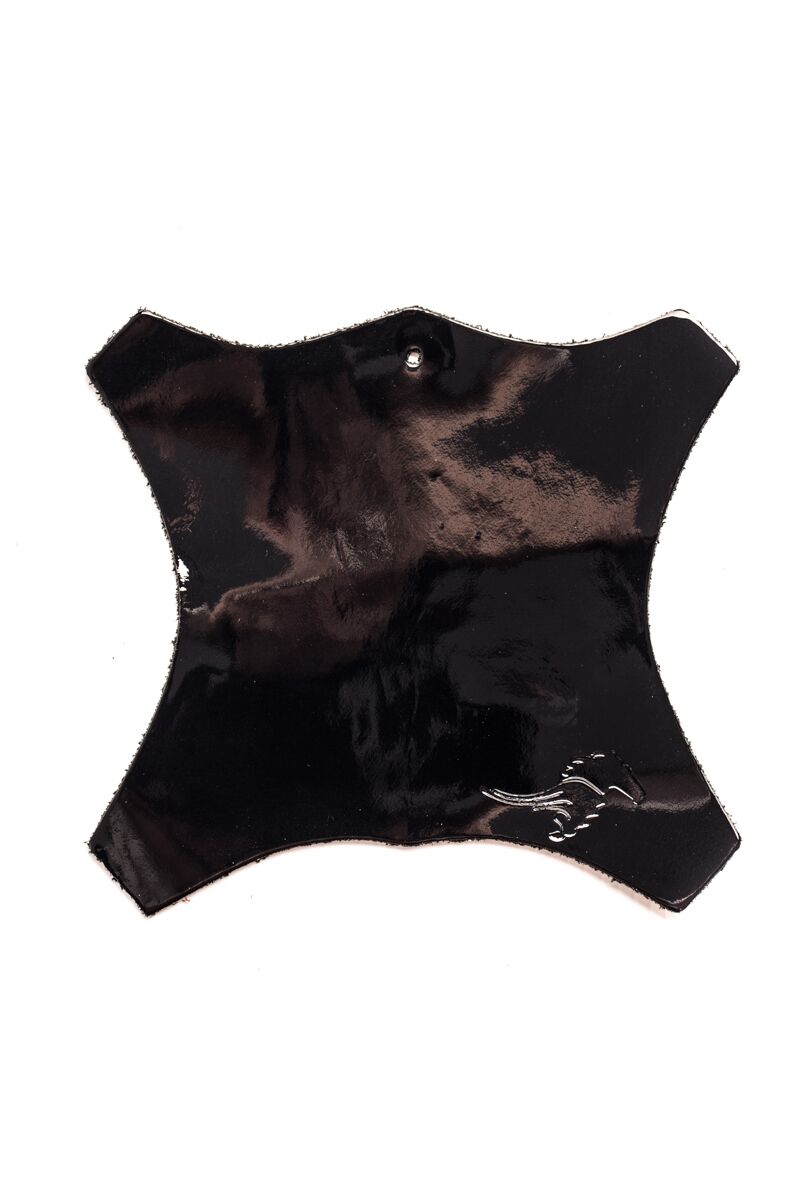
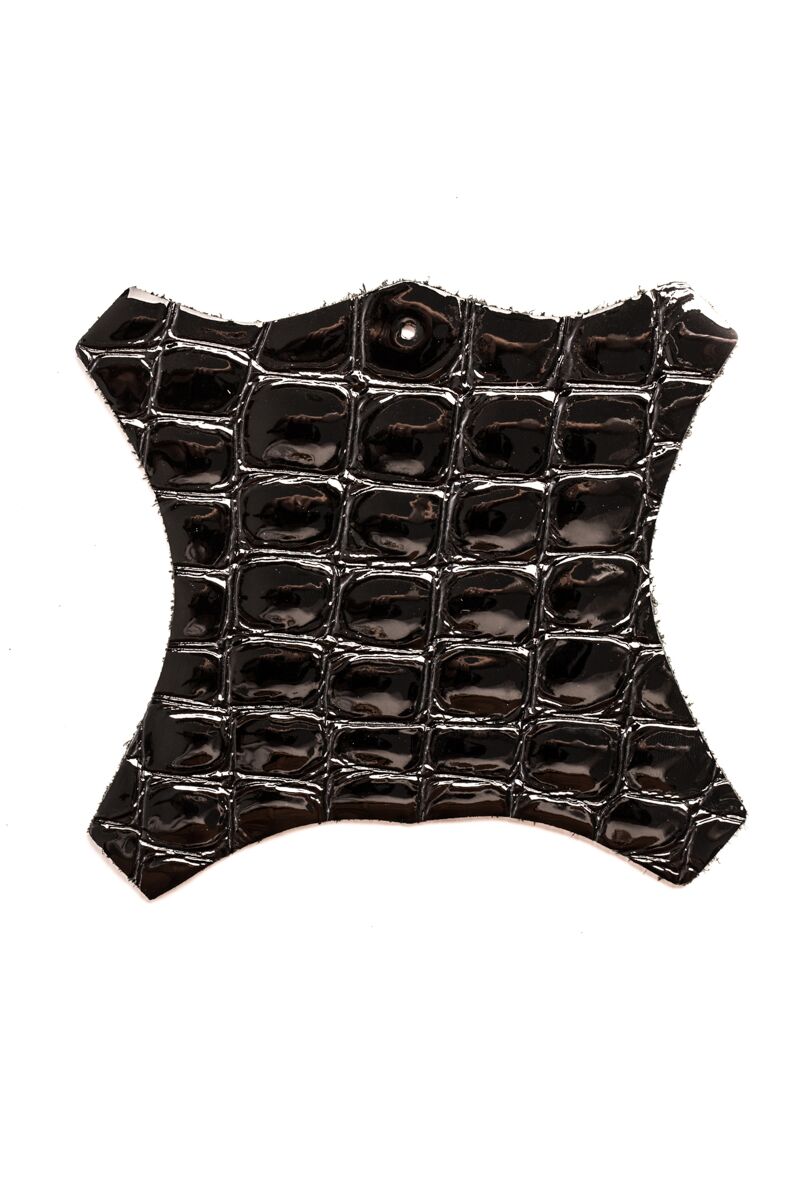
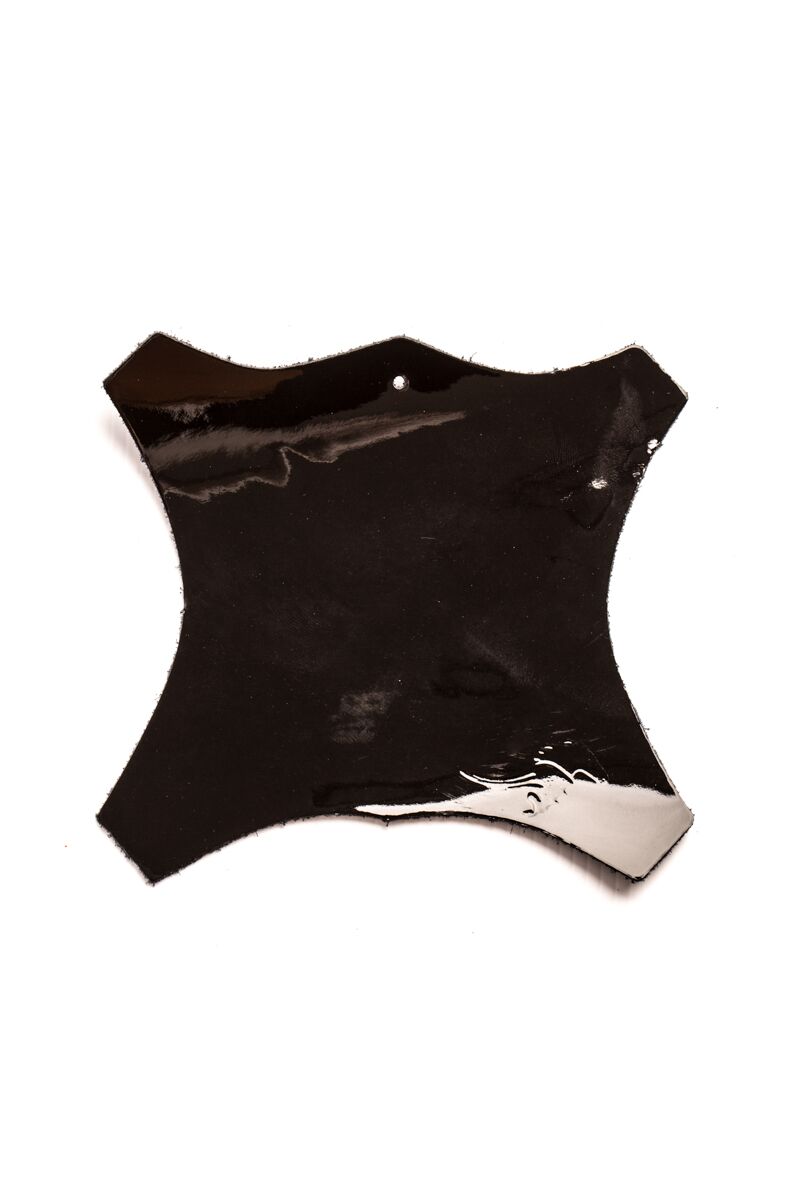
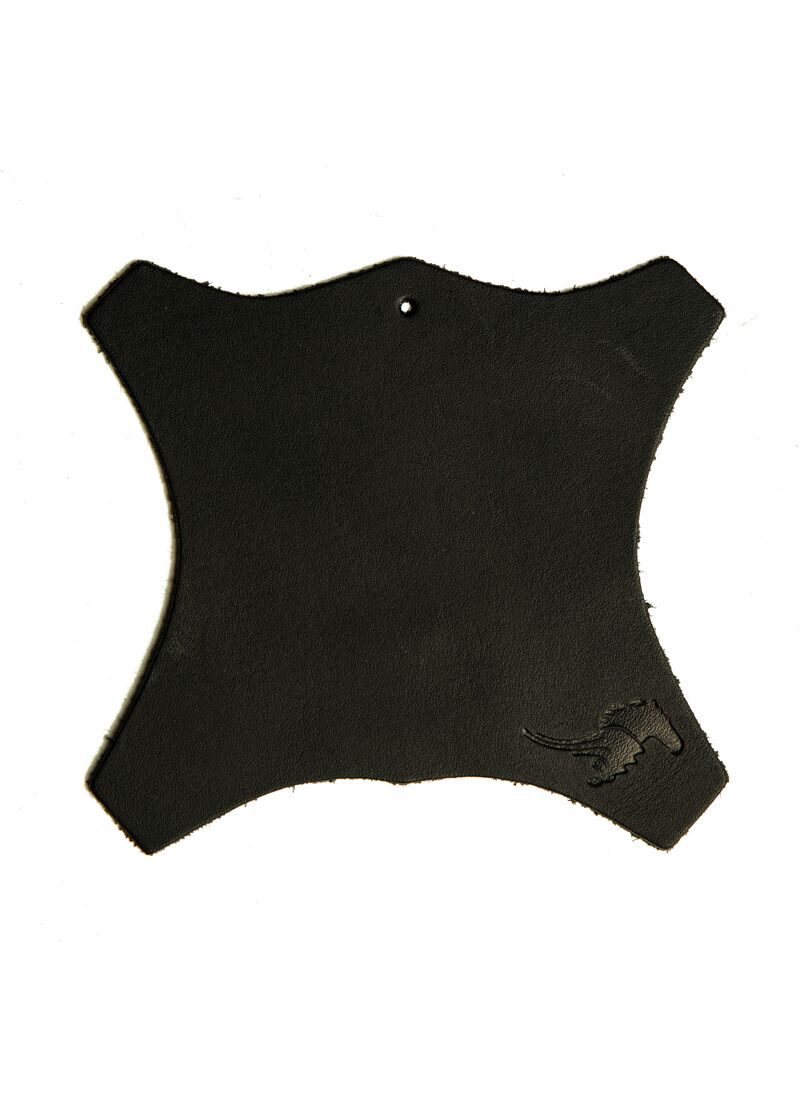
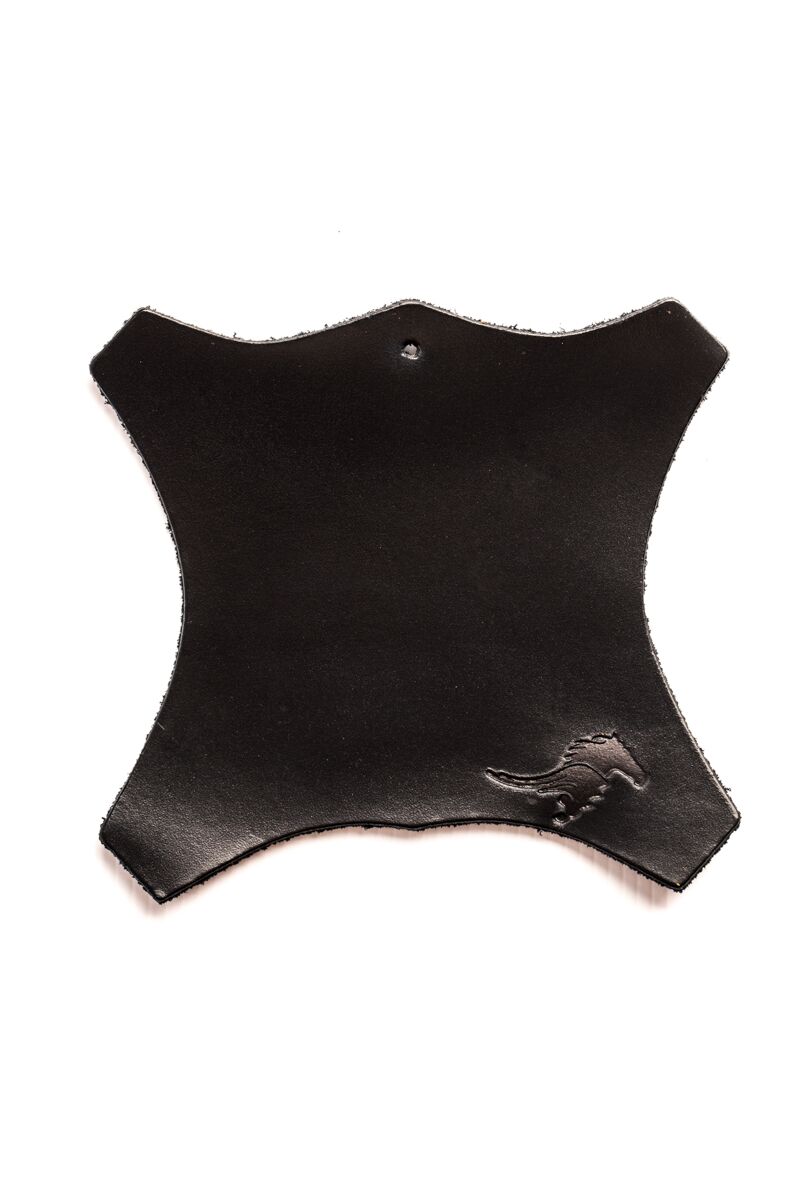
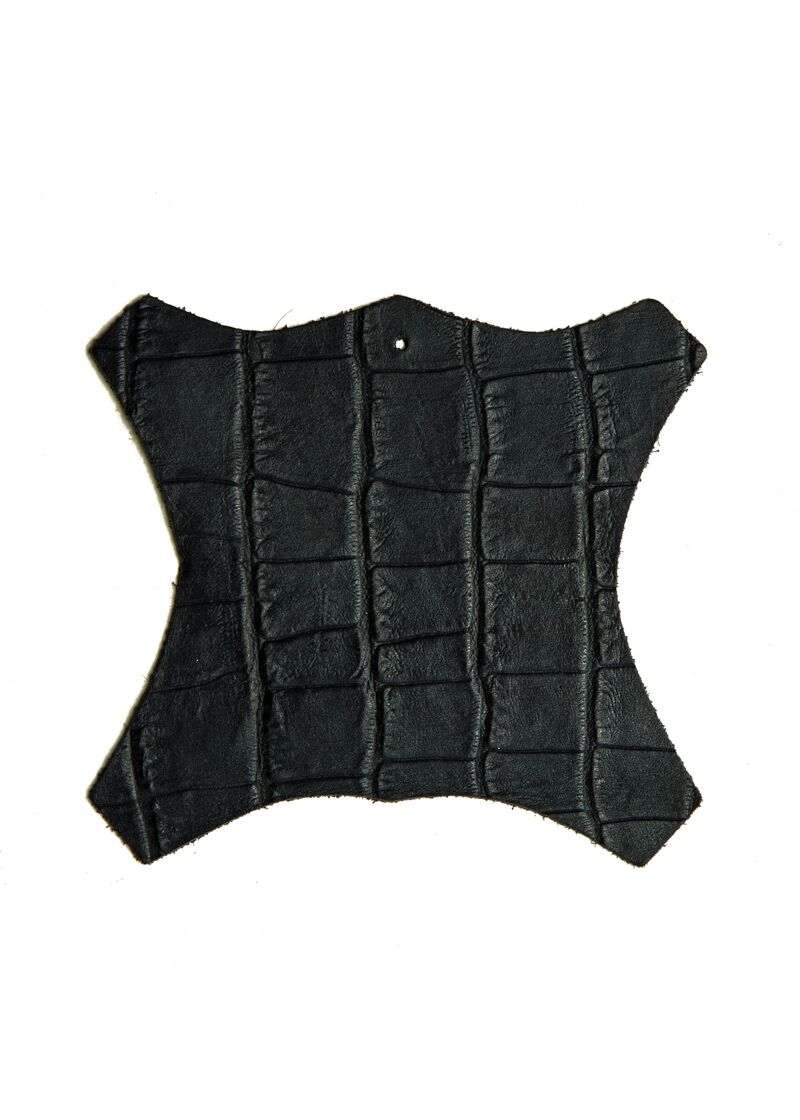
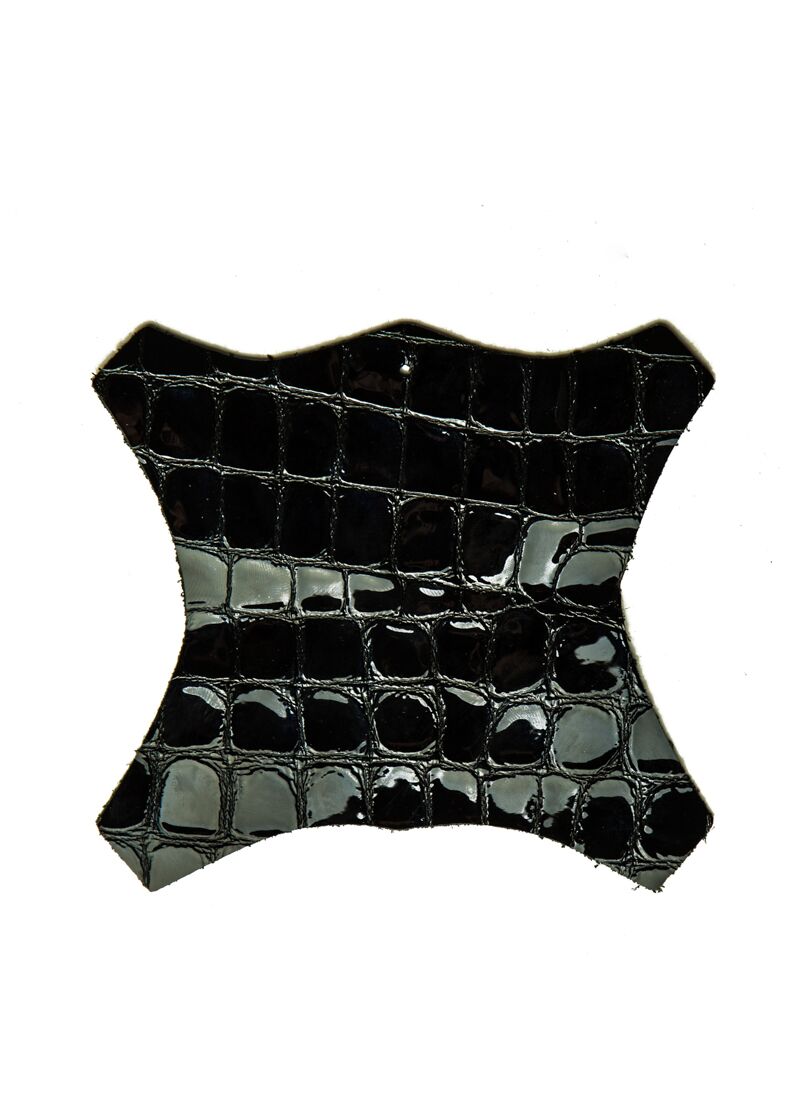
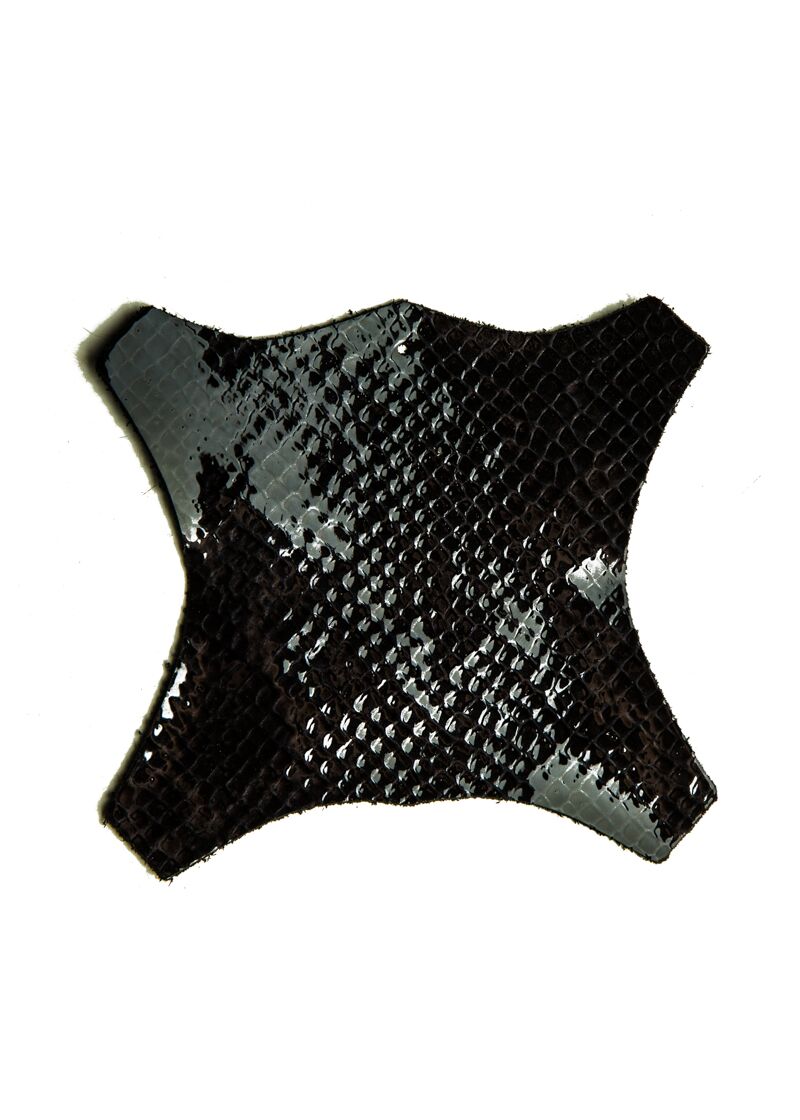
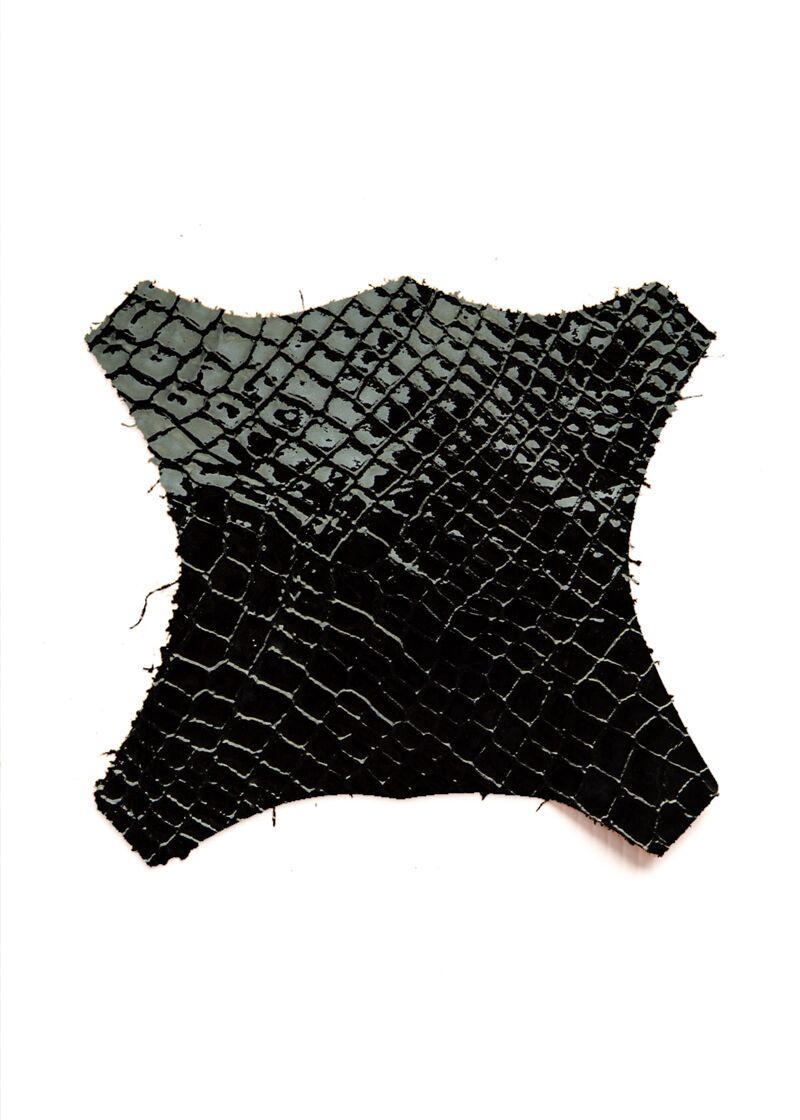
Model Main Colour* Black Mid Shine Black Polished Black Nubuck Black Black Croc Black Iguana Patent Black Patent Black Croc
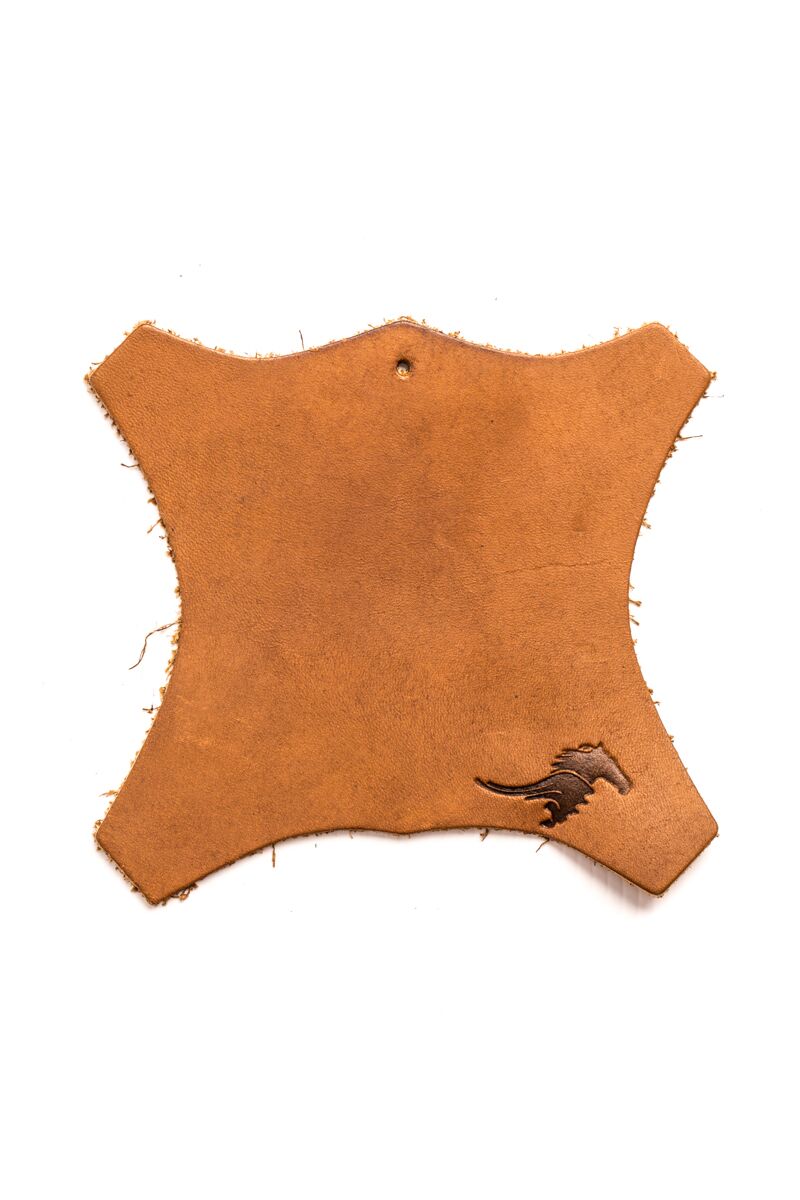
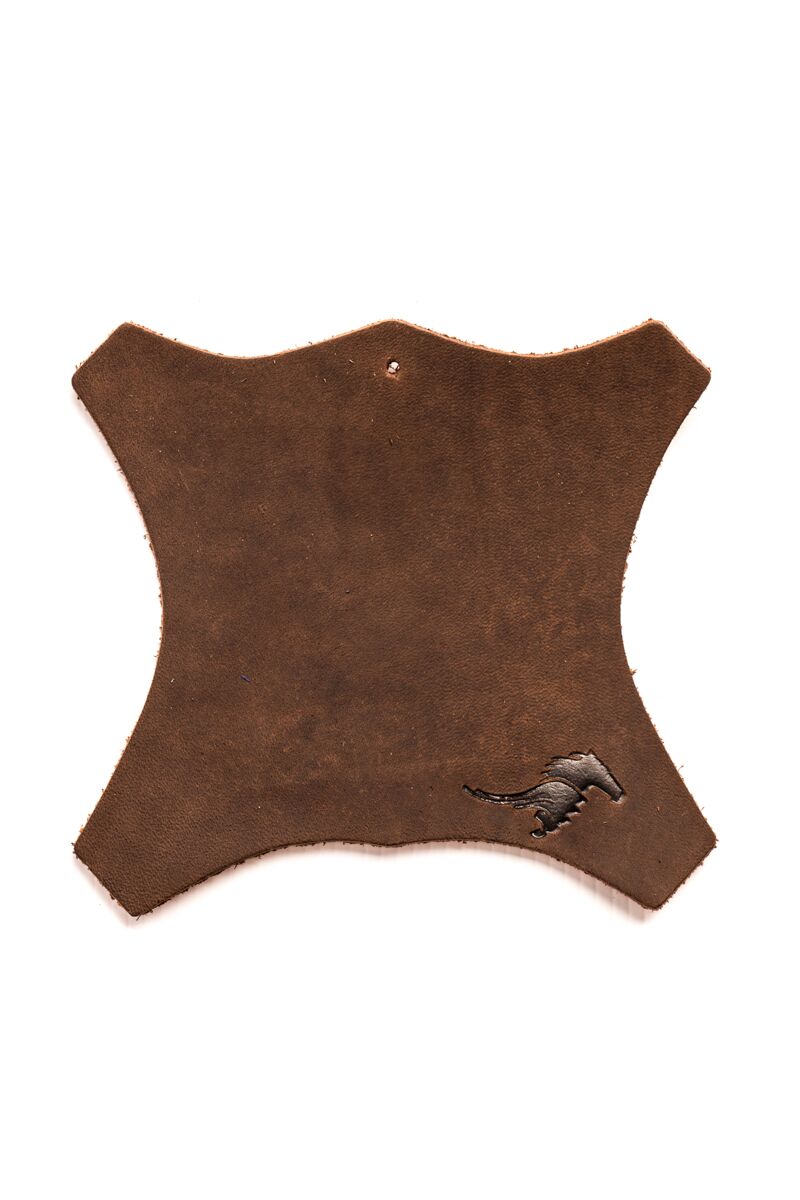
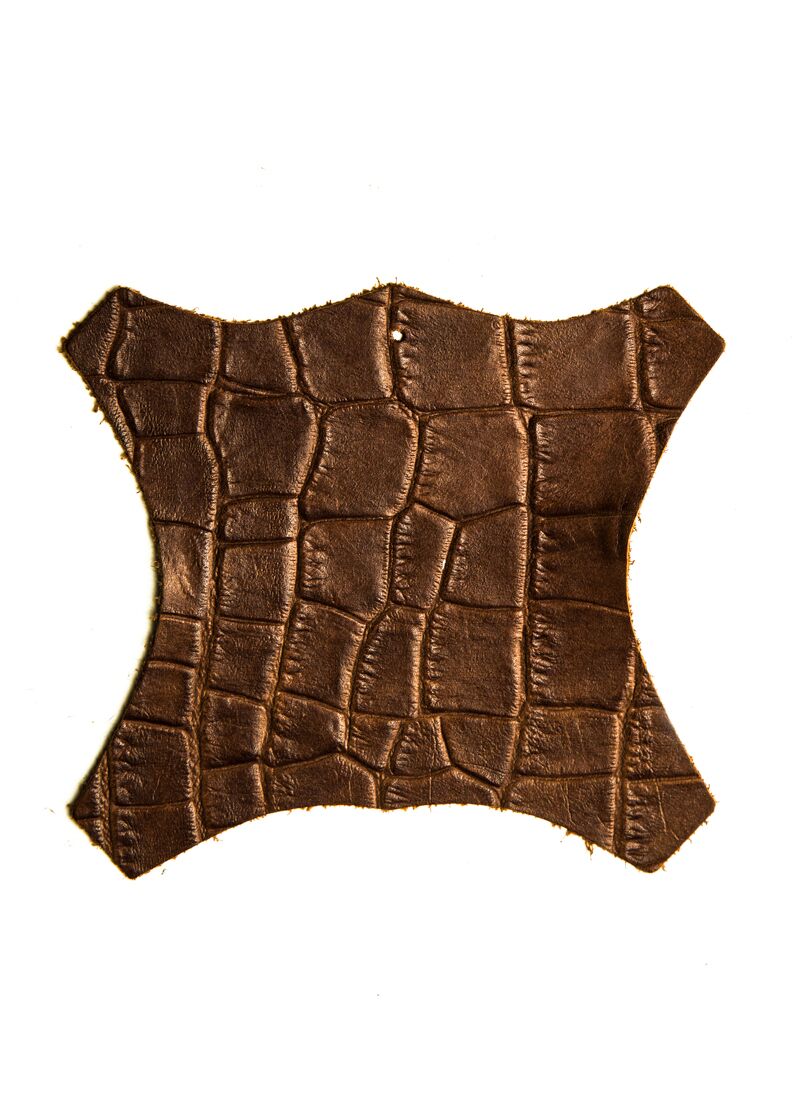
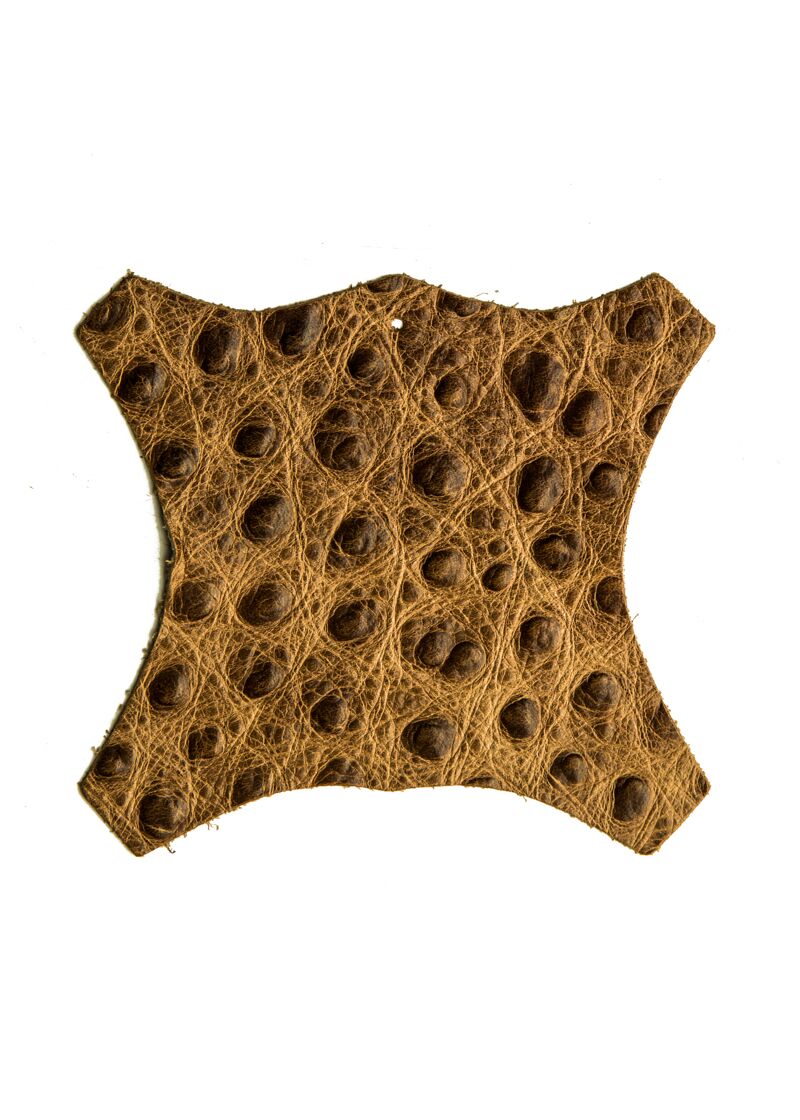
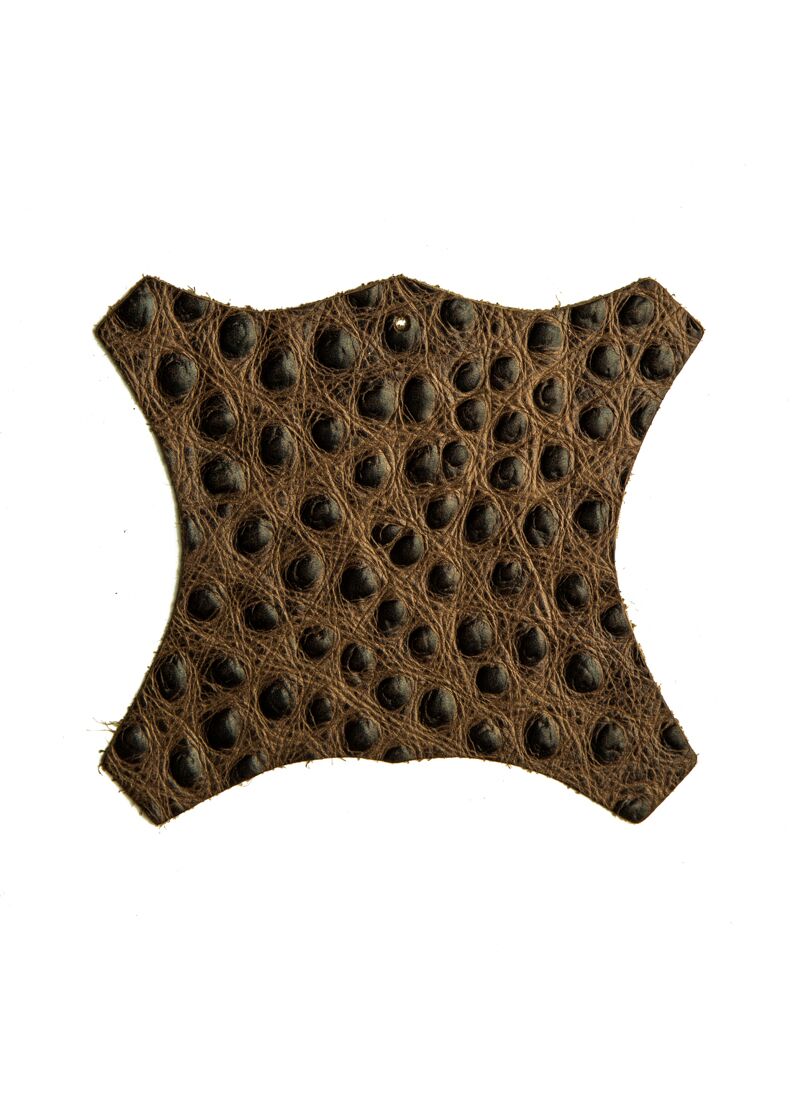
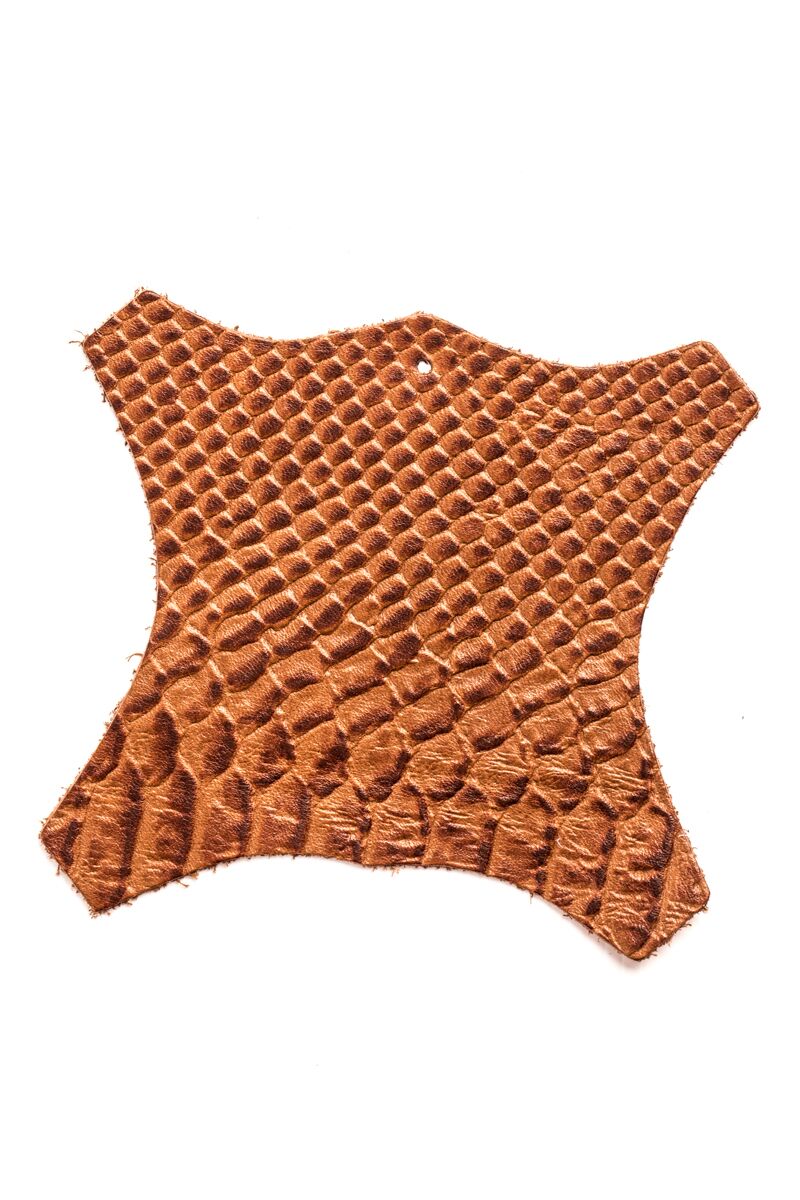
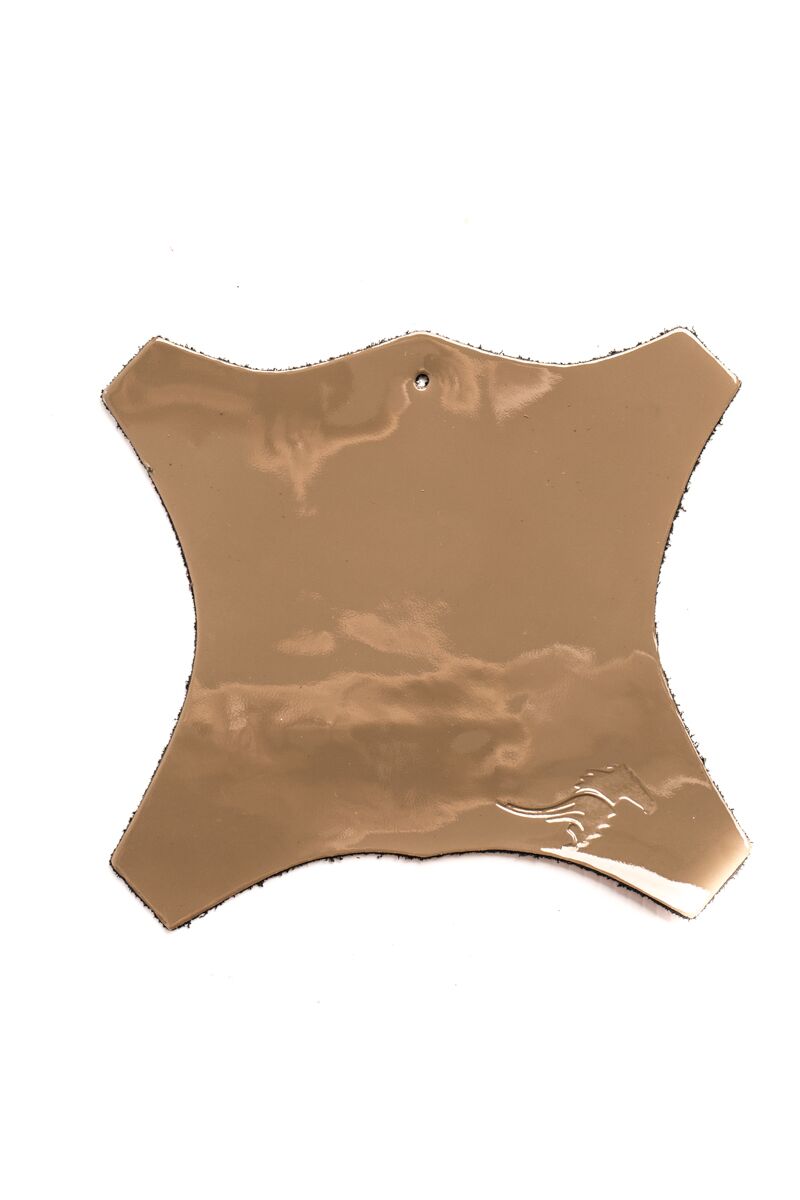
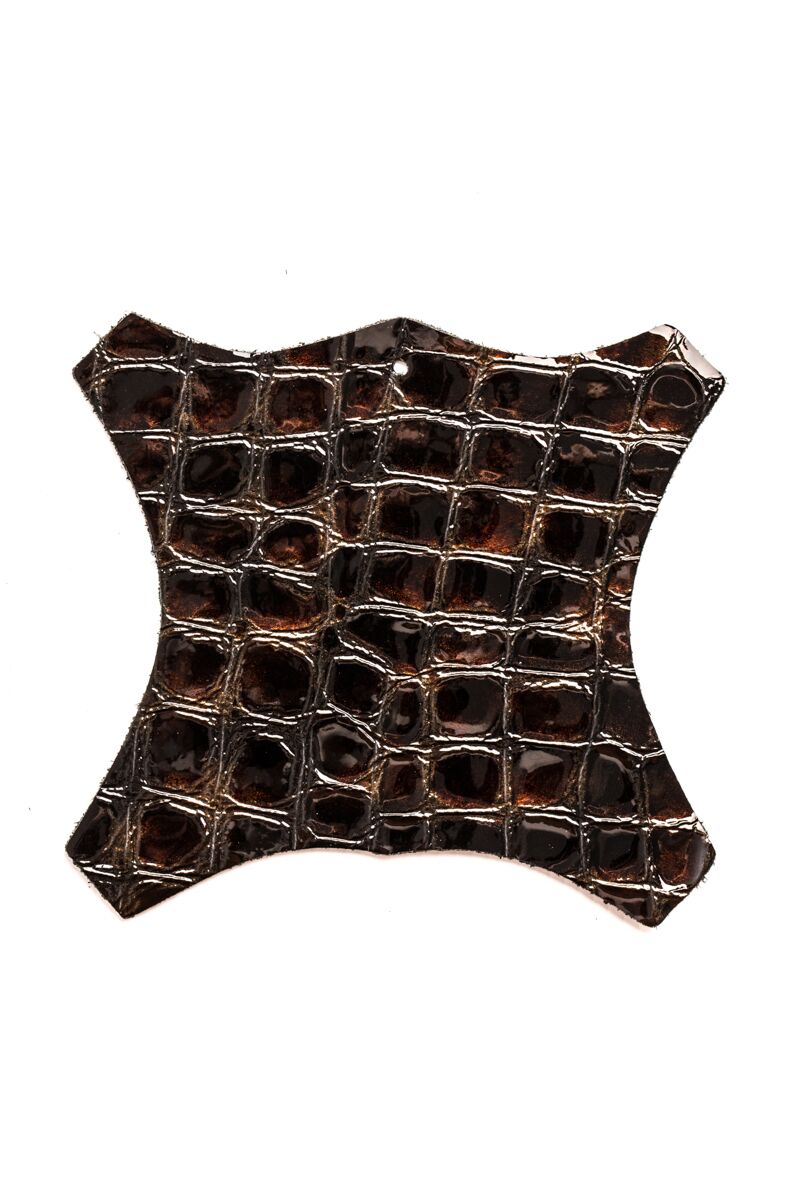
Model Main Colour* Milk Chocolate Brown Chocolate Brown Nubuck Brown Chestnut Brown Beige Light Tan Medium Tan Light Tan Suede Medium Tan Suede Chocolate Tan Suede Chocolate Brown Suede Acid Brown Polished Antique Light Tan Suede Brown Croc Milk Chocolate Crock Chocolate Brown Croc Tan Ostrich Chocolate Brown Ostrich Tan Iguana Patent Café Lait Patent Chocolate Brown Patent Chocolate Brown Croc
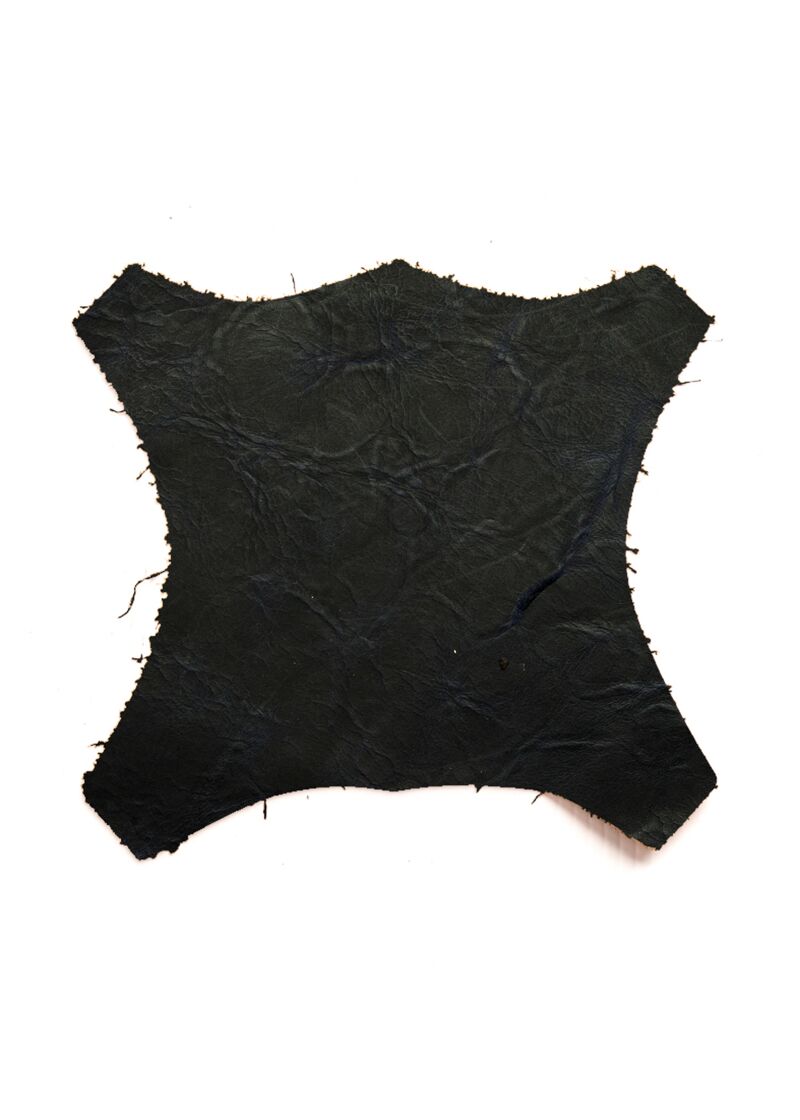
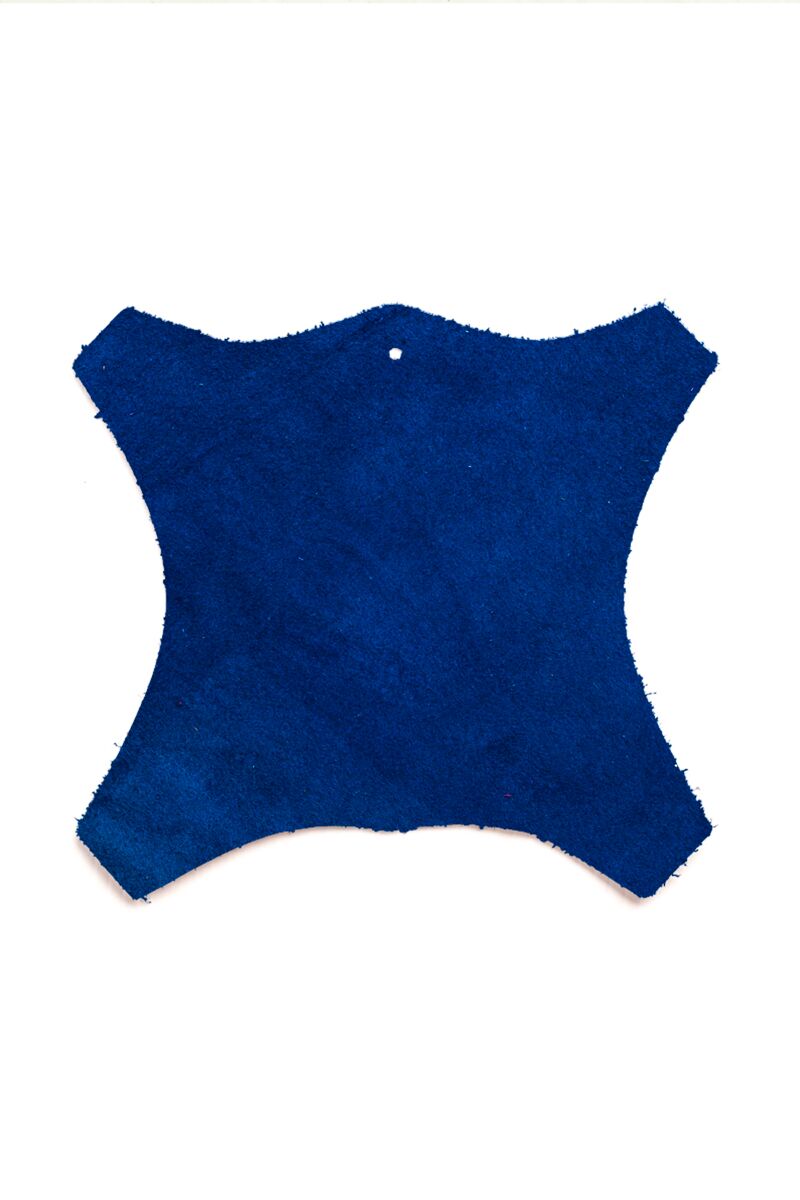
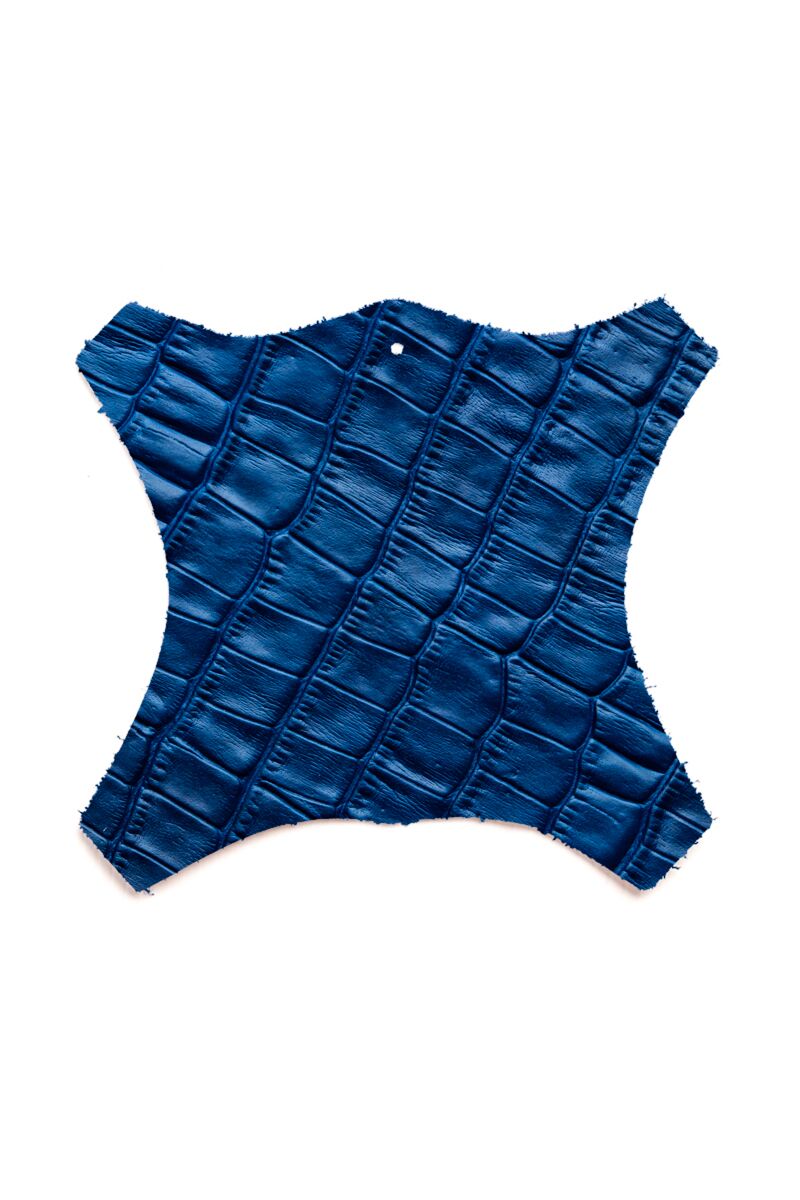
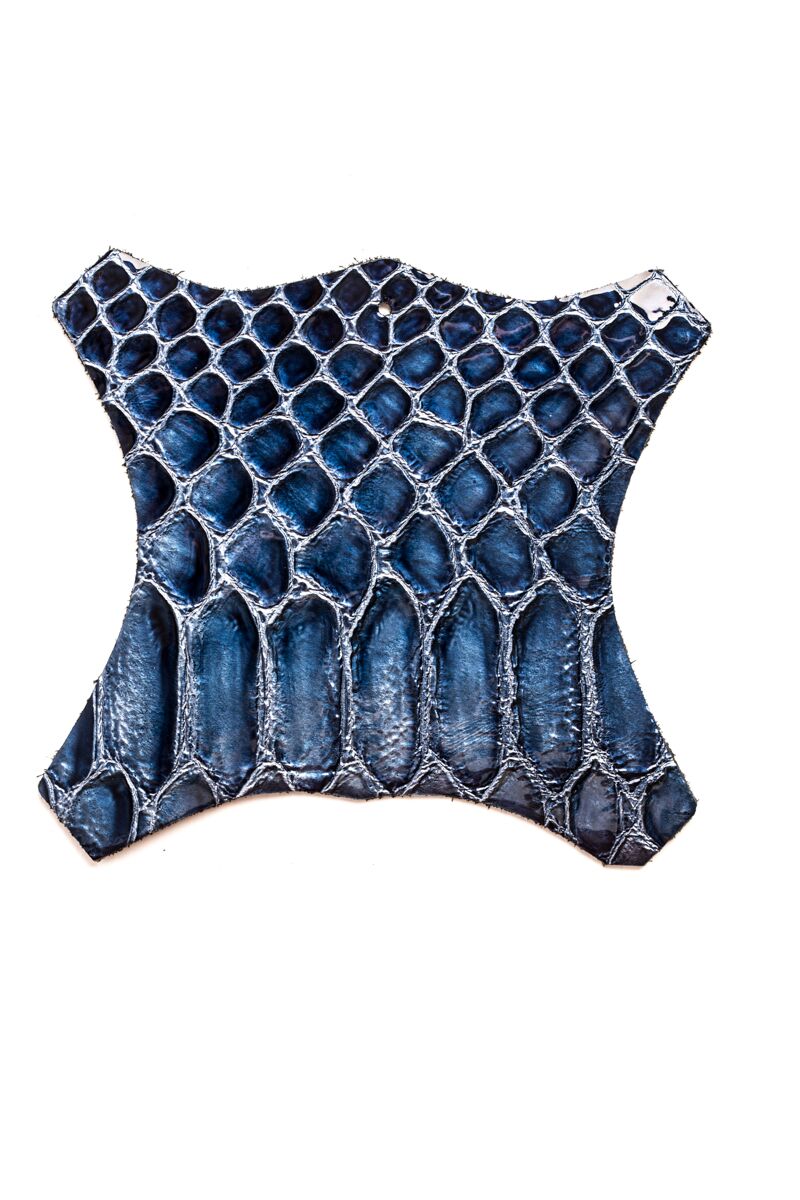
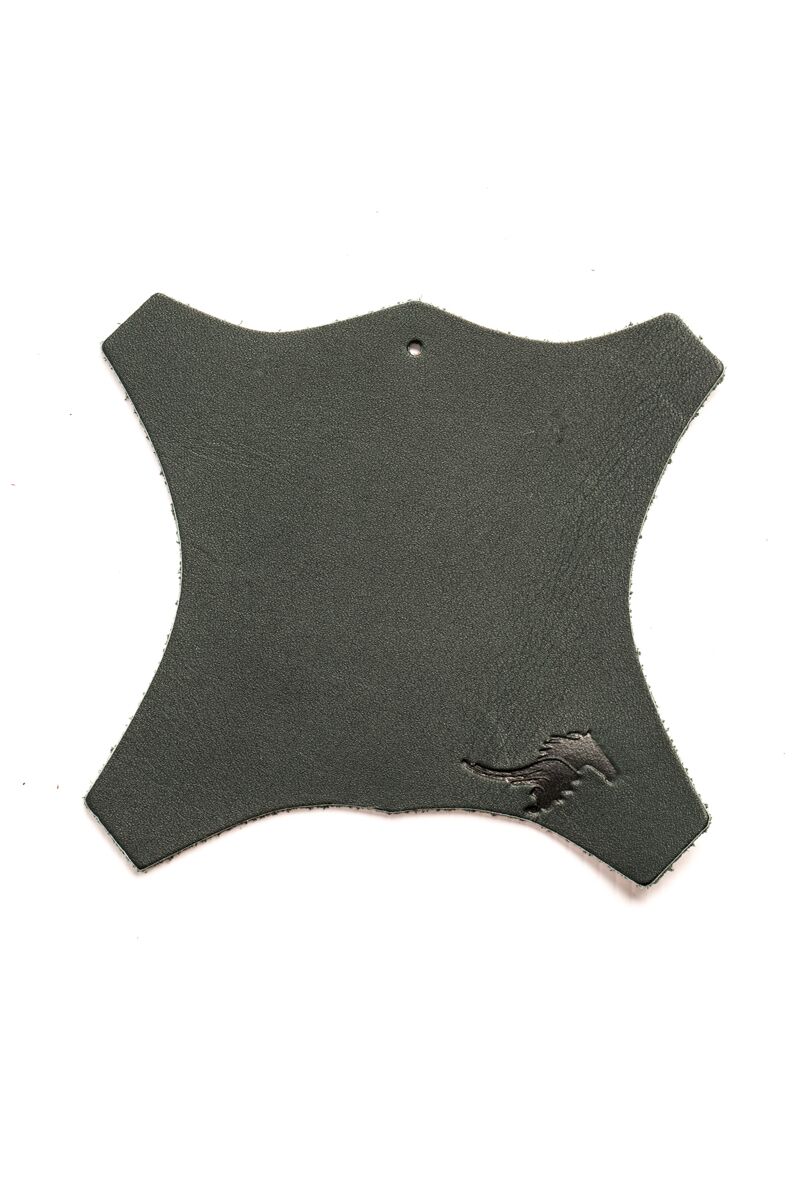
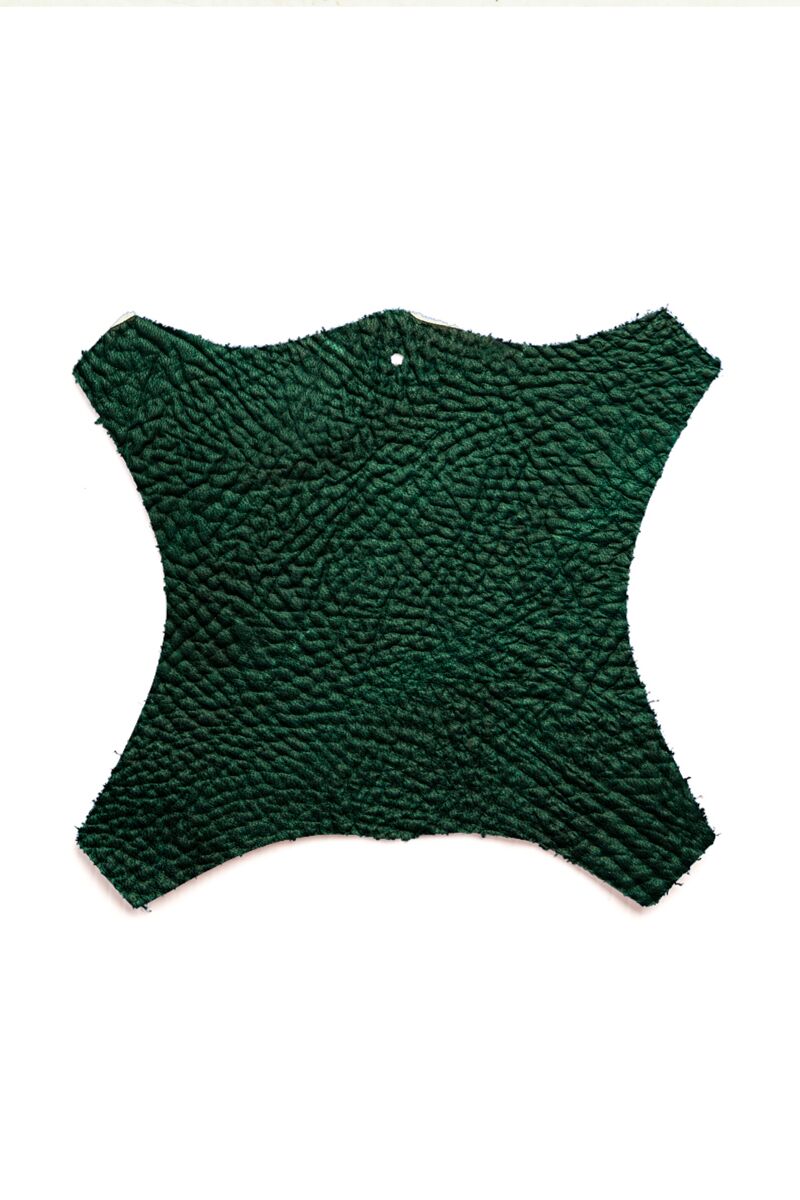
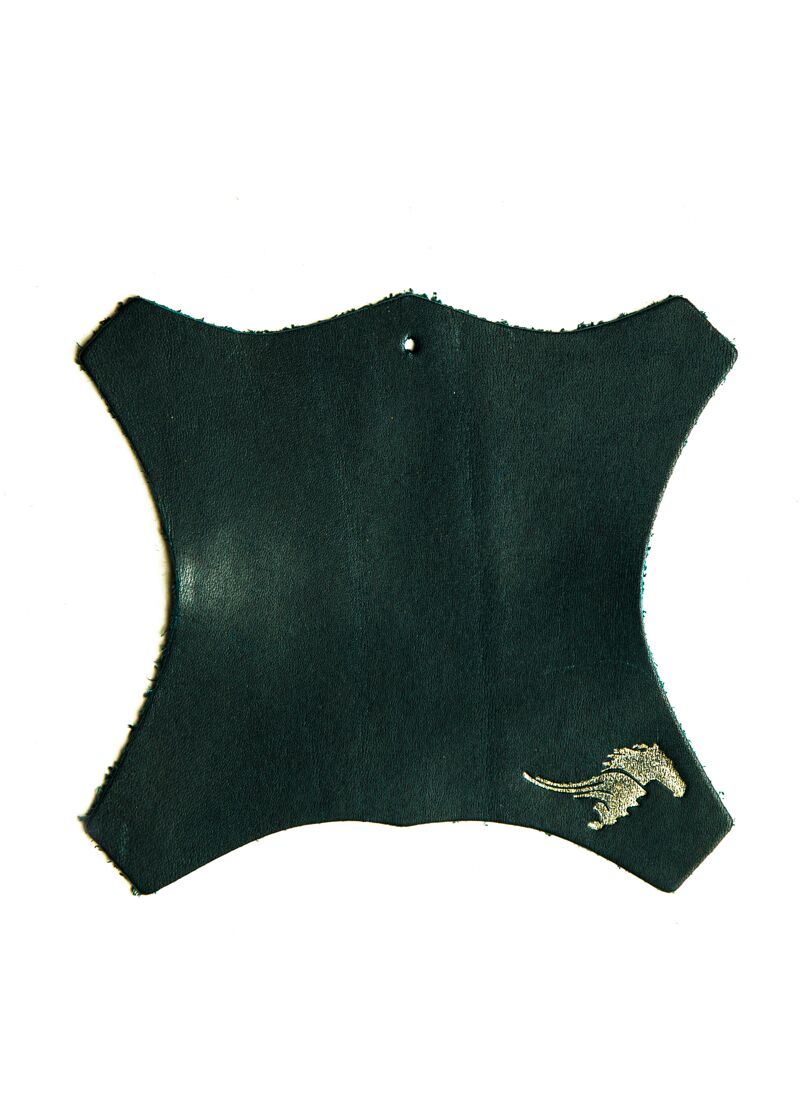
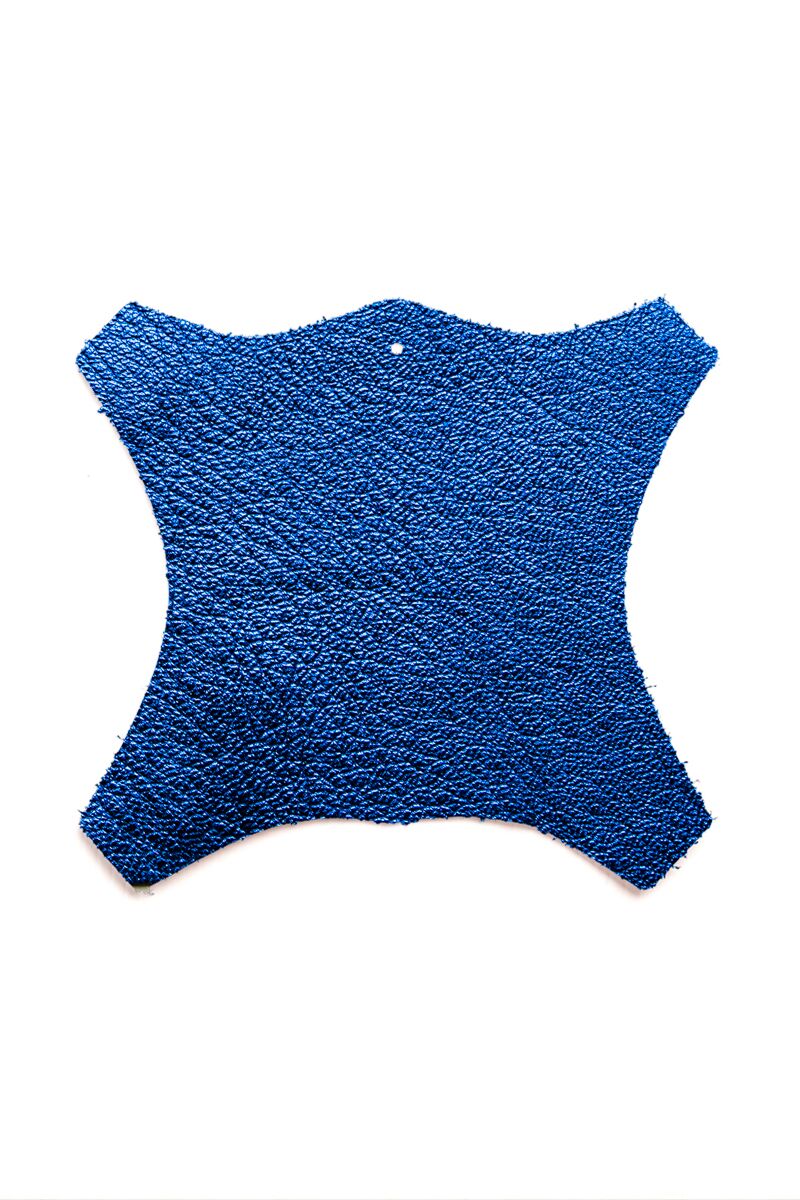
Model Main Colour* Dark Navy Blue Mid Shine Navy Blue Acid Navy Blue Navy Blue Croc Patent Navy Blue Patent Navy Blue Croc Patent Navy Blue Cobra Patent Navy Blue Iguana Medium Tan Suede Patent Petrol Iguana Royal Blue Royal Blue Suede Royal Blue Croc Patent Royal Blue Croc Forest Green Green Snakeskin Petrol Green
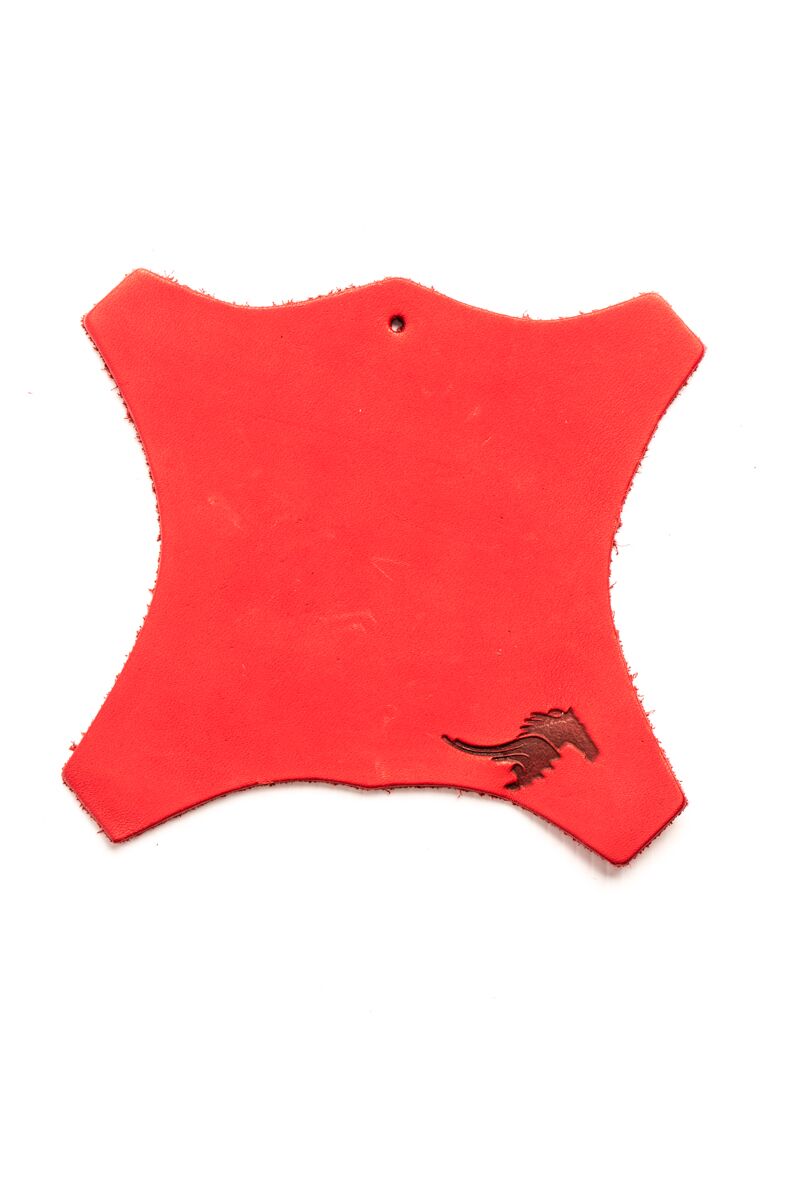
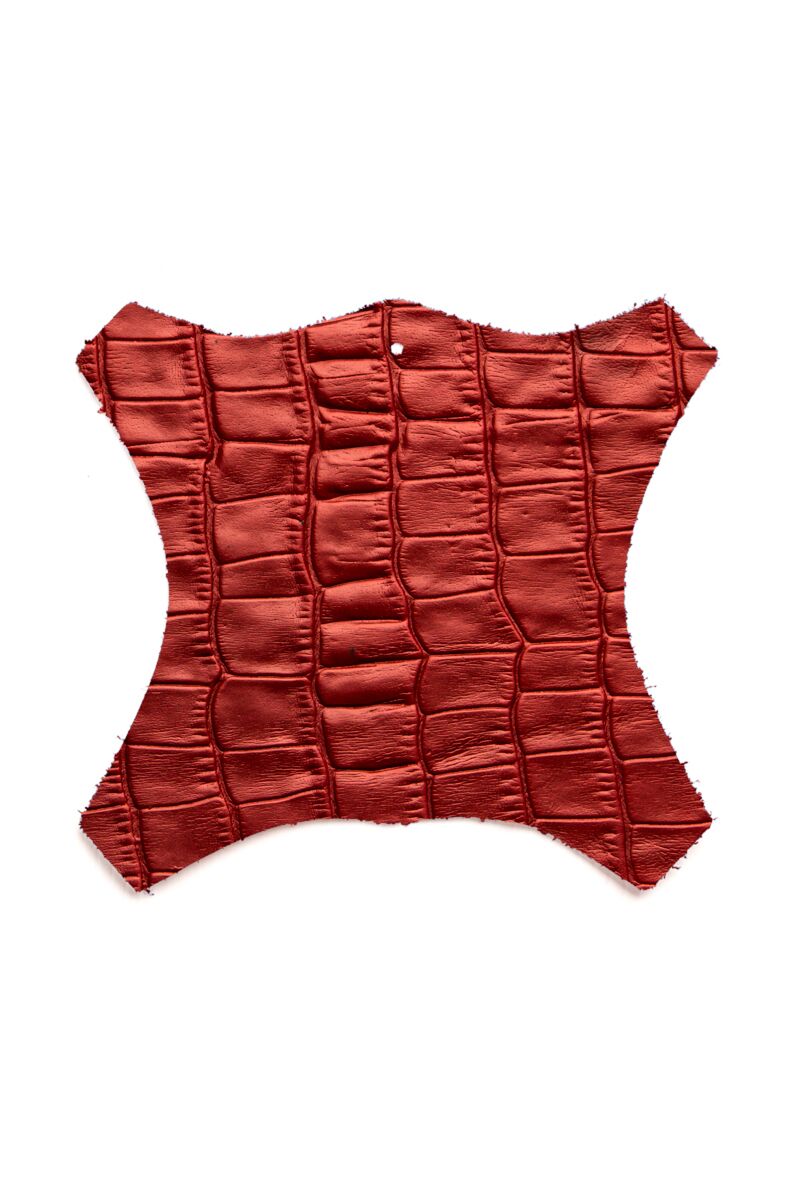
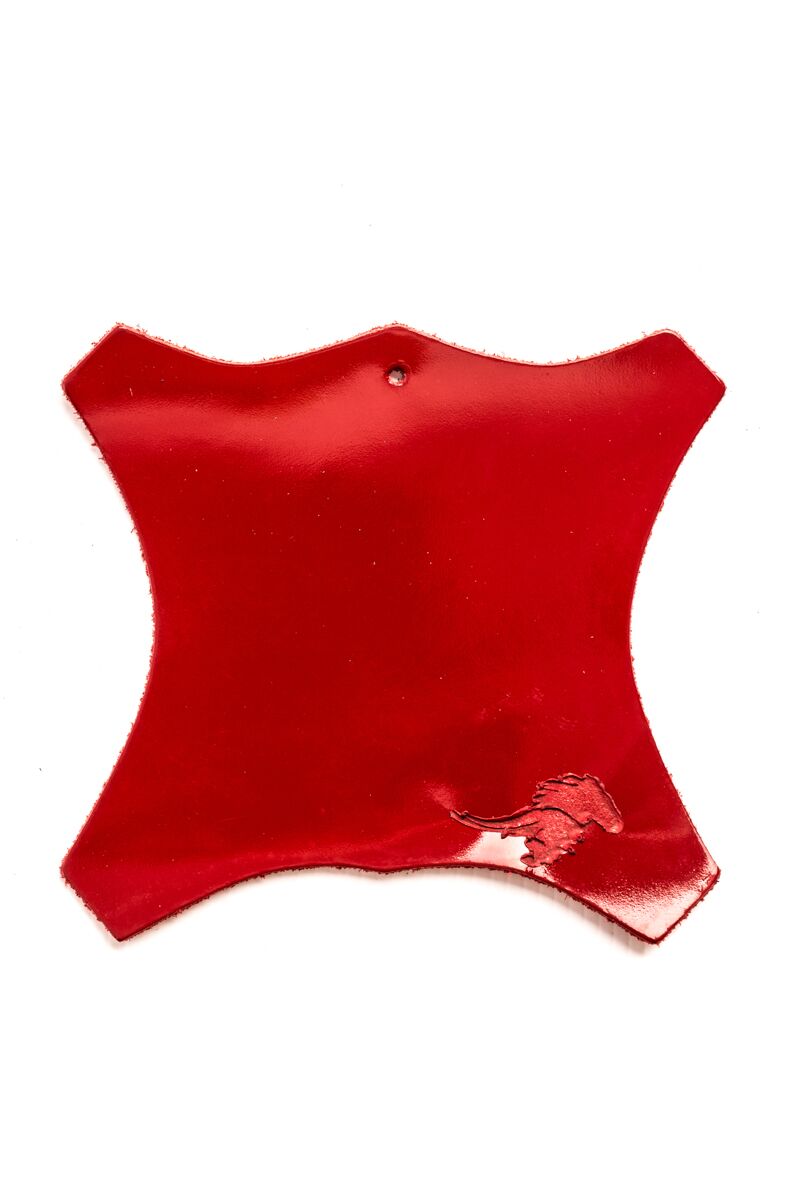
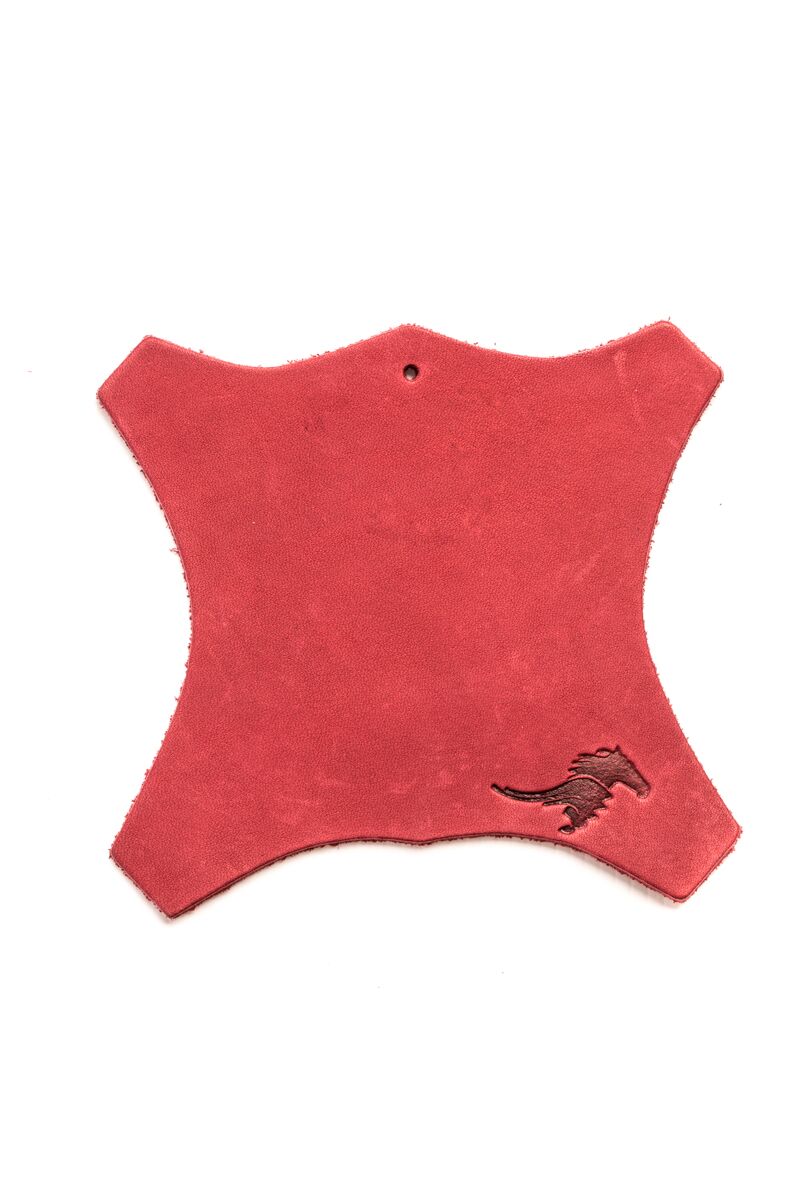
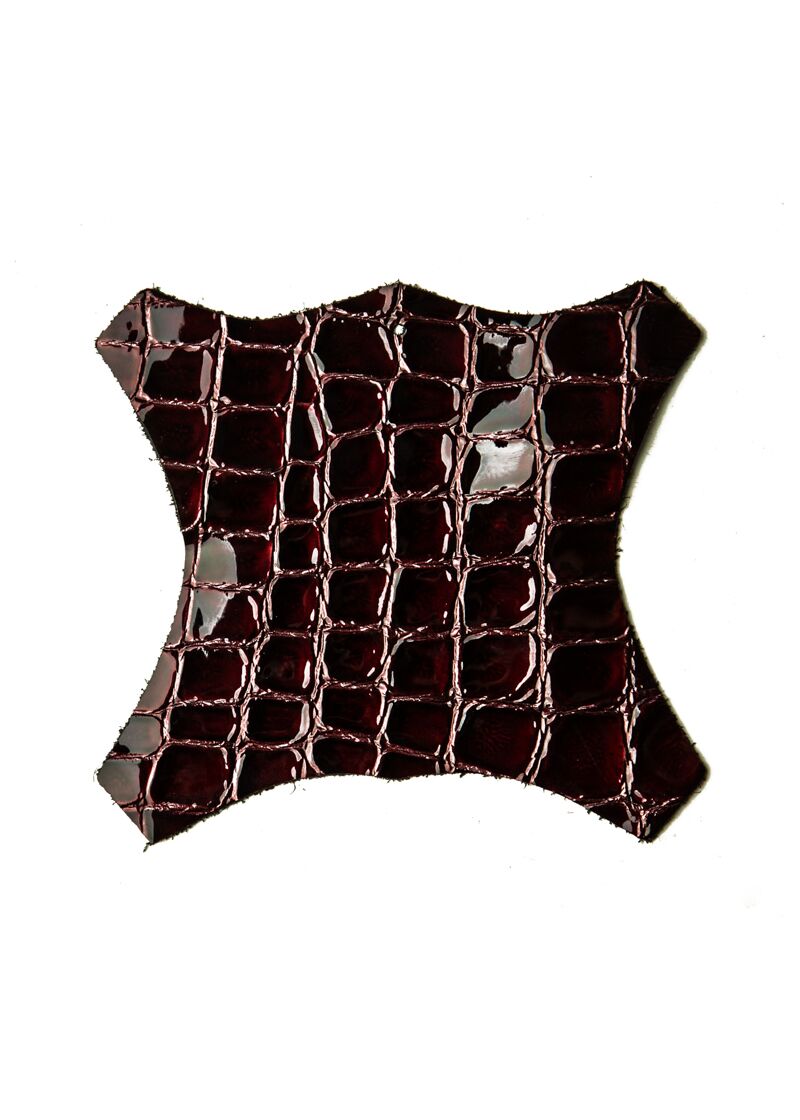
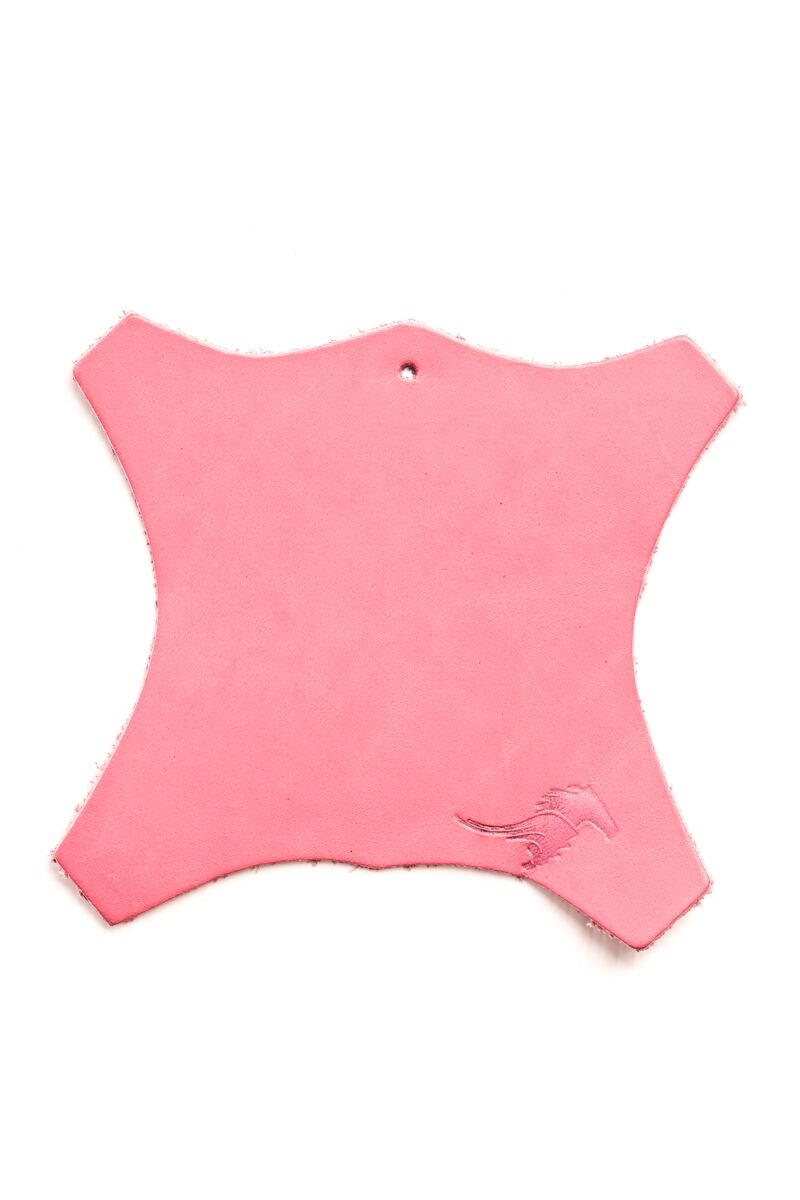
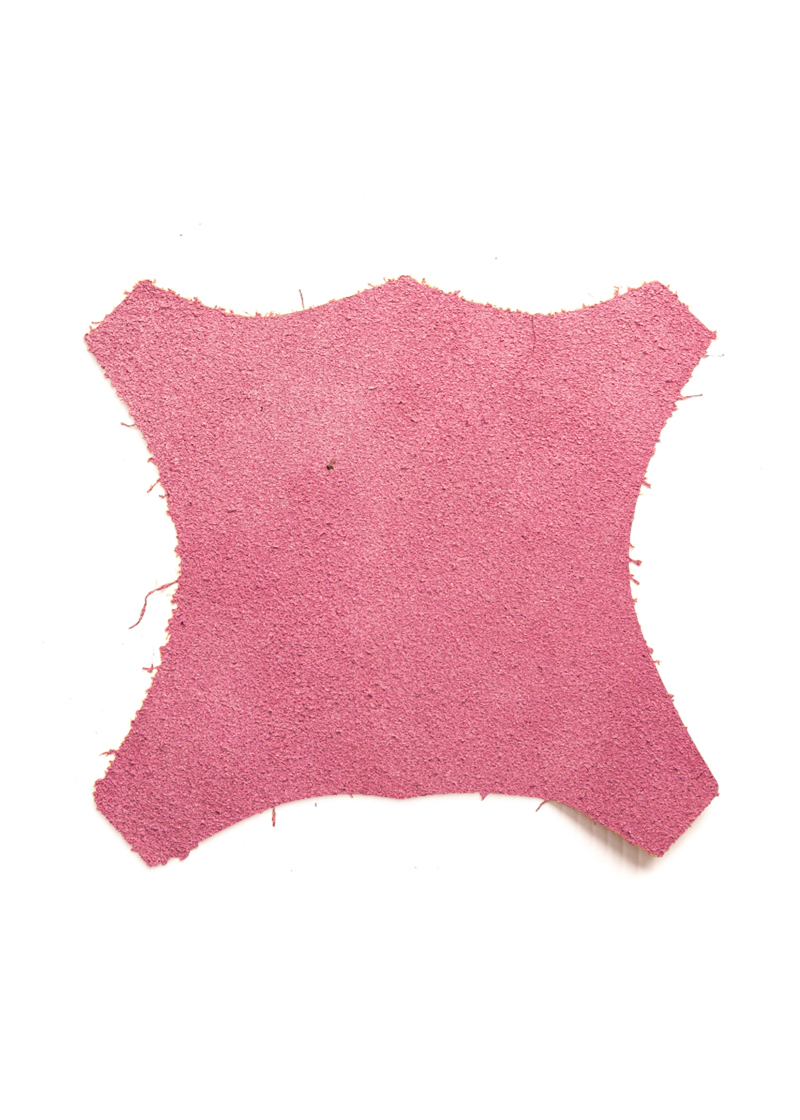
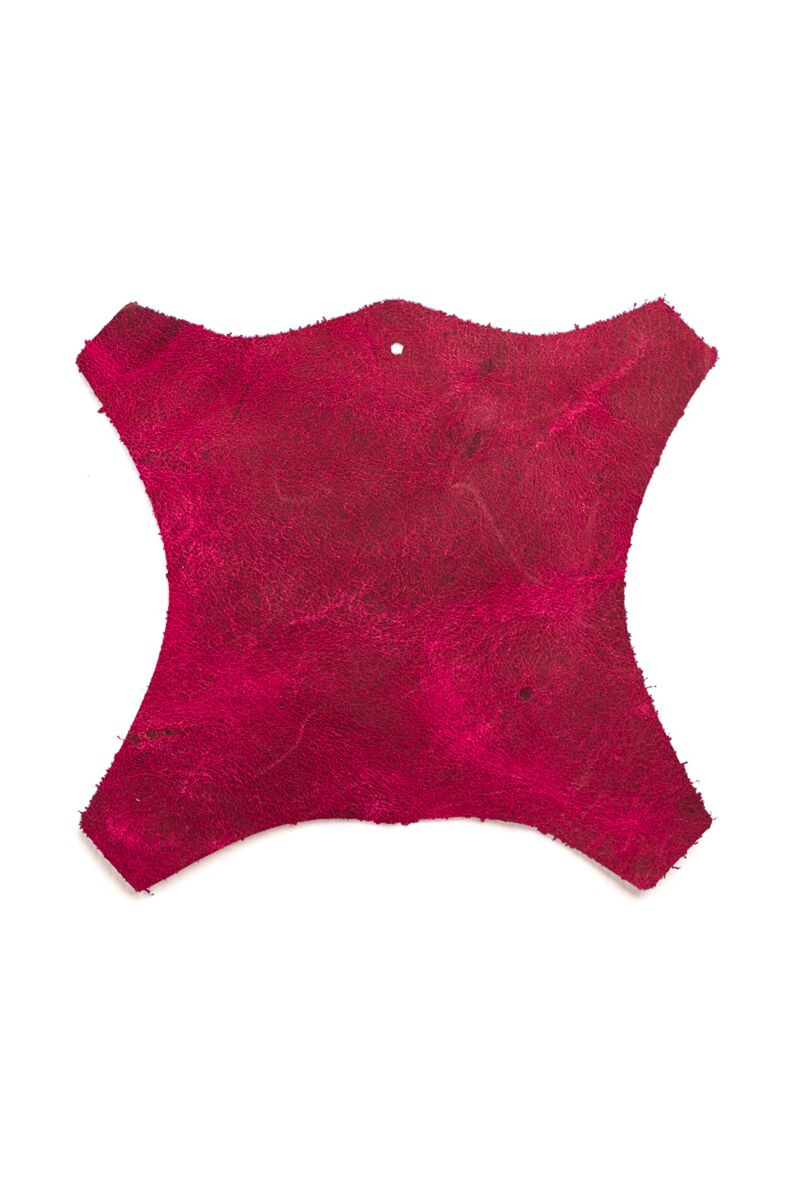
Model Main Colour* Red Red Croc Red Patent Bordeaux Mottles Bordeaux Wine Polished Antique Bordeaux Antique Bordeaux Croc Patent Bordeaux Croc Baby Pink Baby Pink Suede Acid Pink Pink Berries Mottled Pink Patent Hot Pink Patent Rose Iguana Purple Grapes Patent Purple
Model Main Colour* Medium Grey Patent Light grey Light Grey Croc Patent Grey Croc
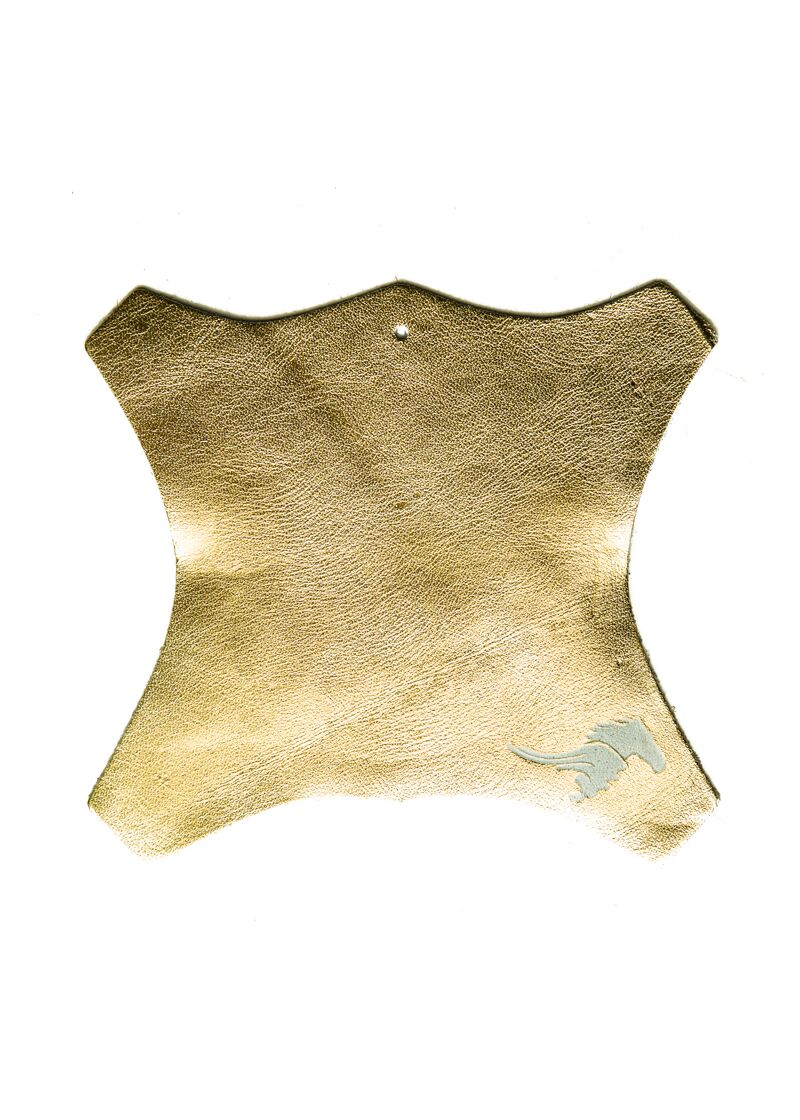
Model Main Colour* Metallic Aqua Metallic Royal Blue Metallic Gold Metallic Rose Gold Metallic Silver Metallic Midnight Blue Patent Neon Yellow Hermes Orange
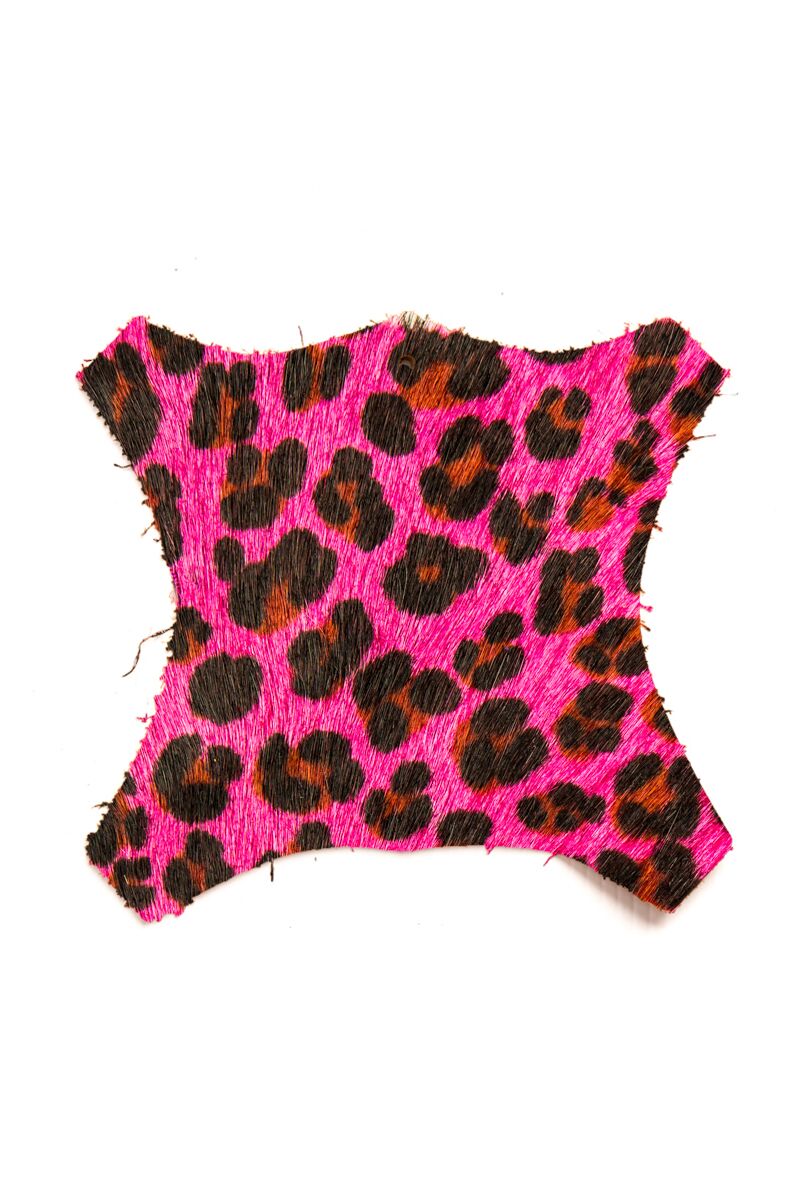
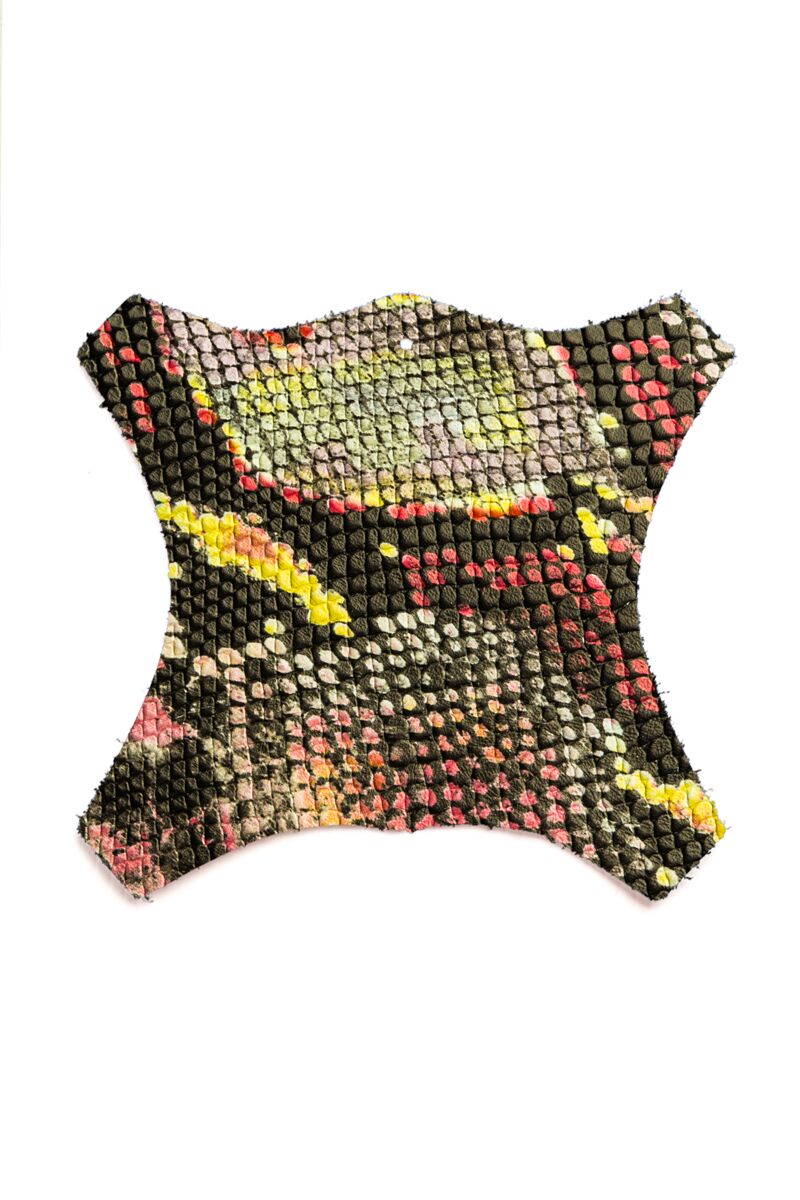
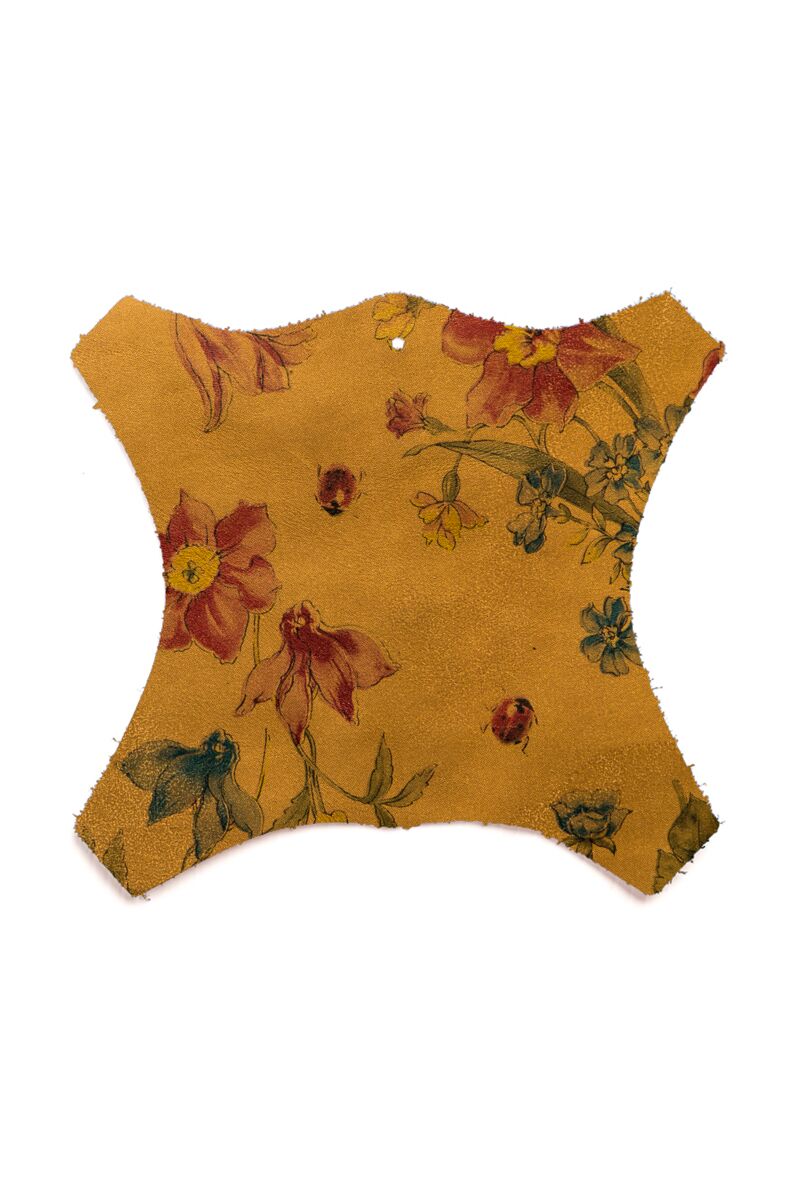
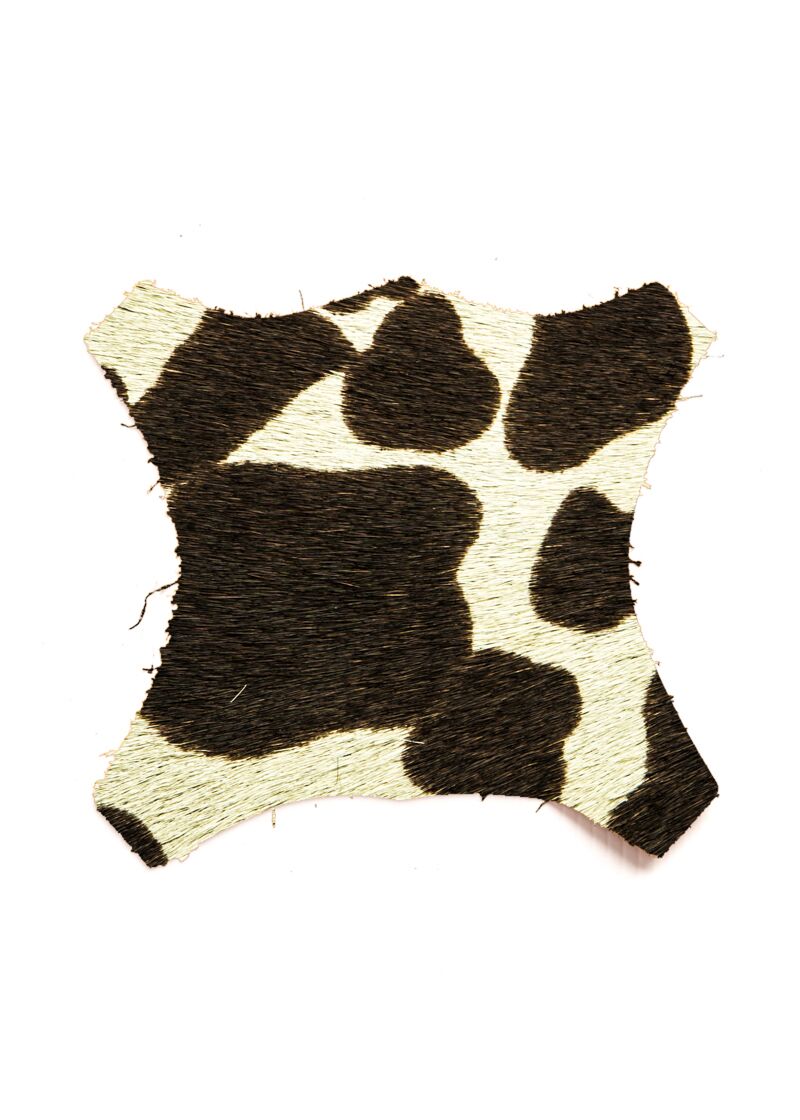
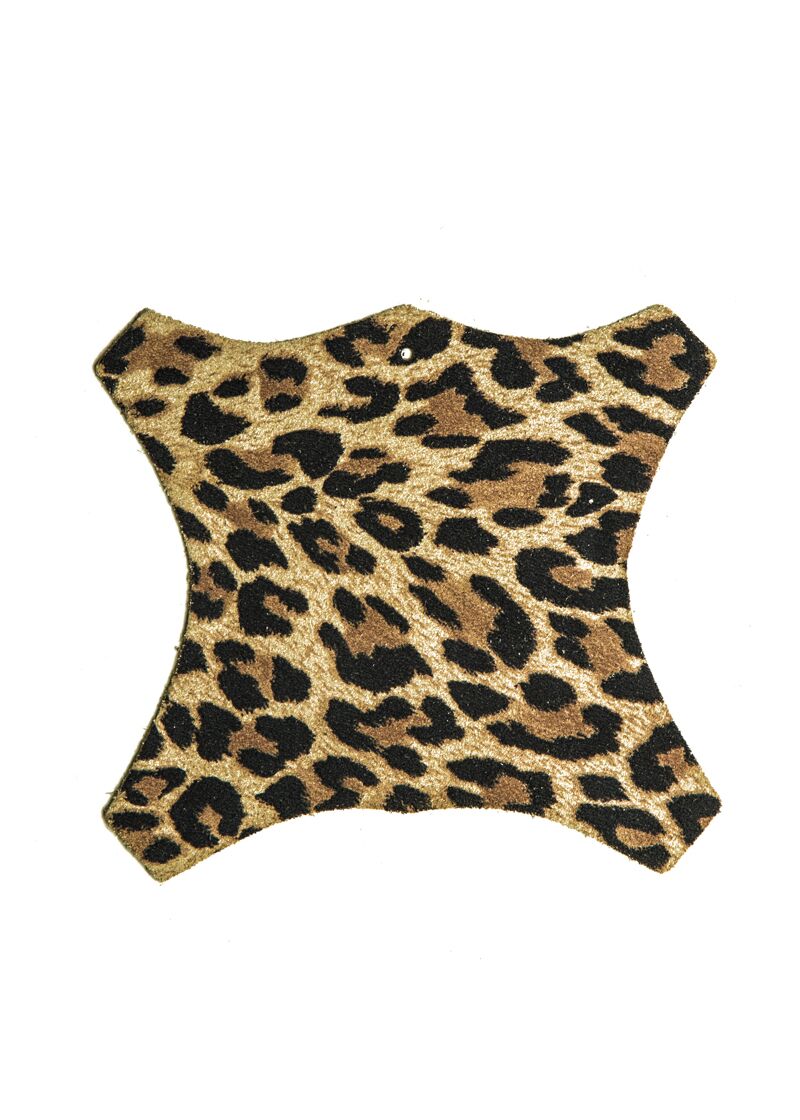
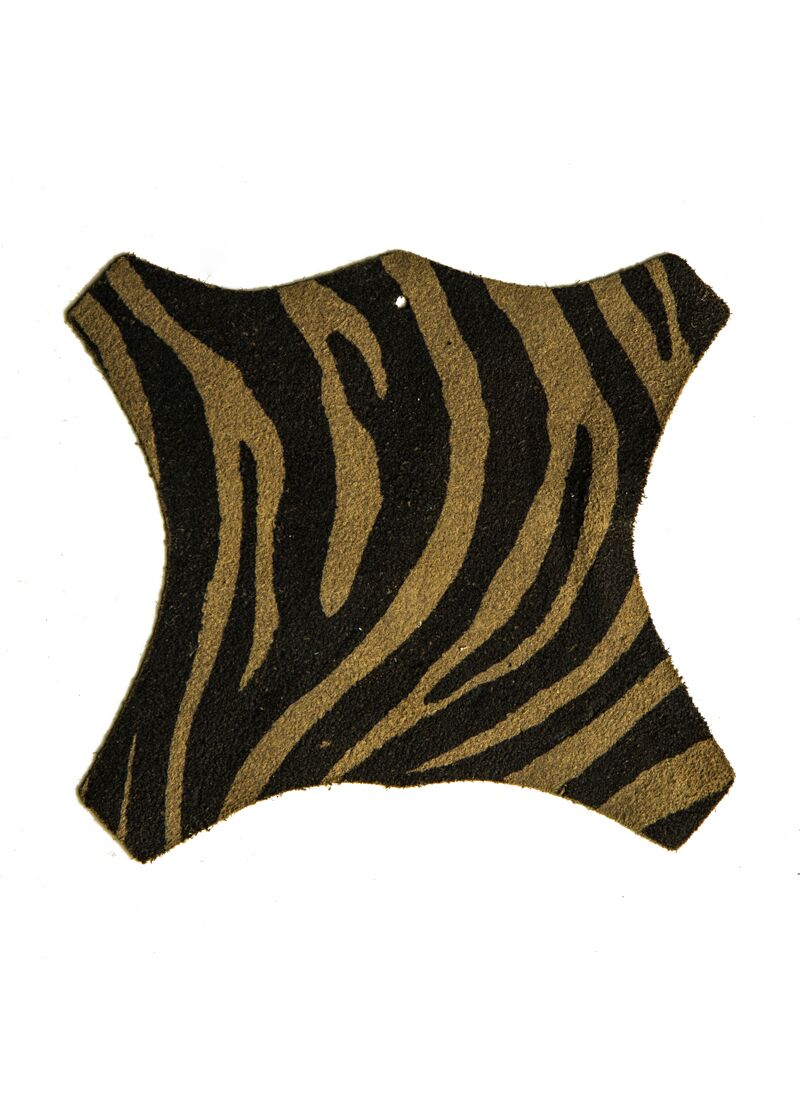
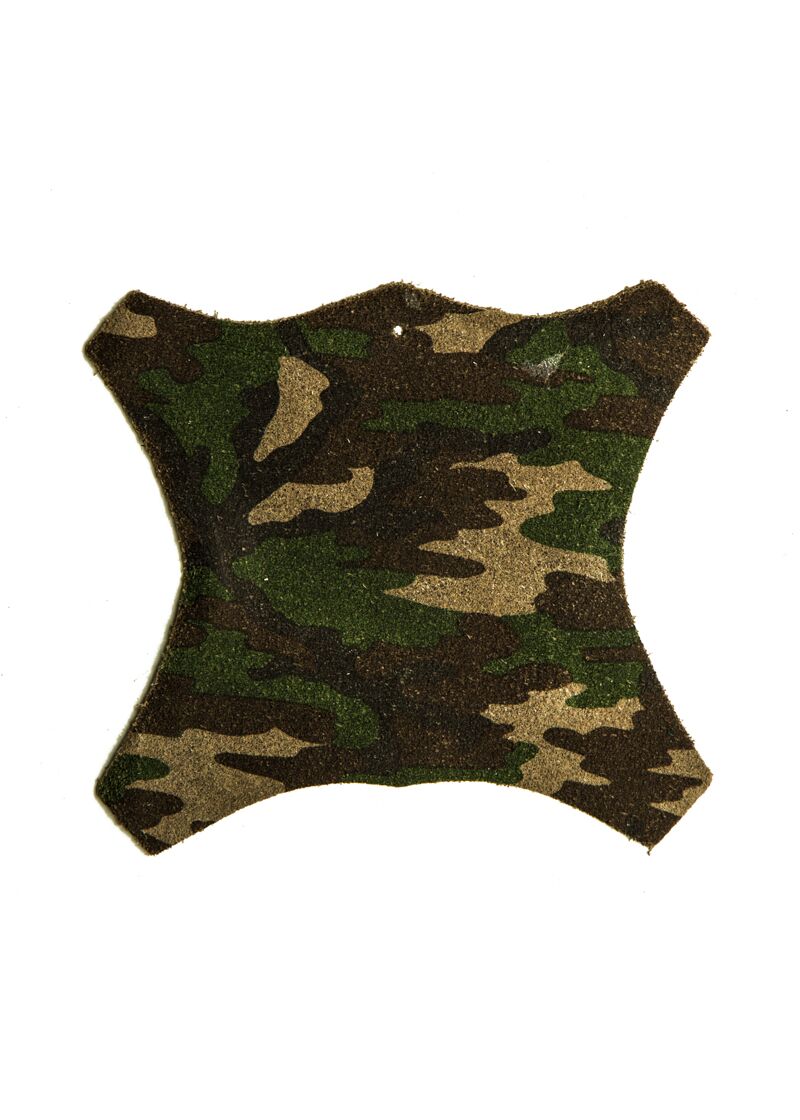
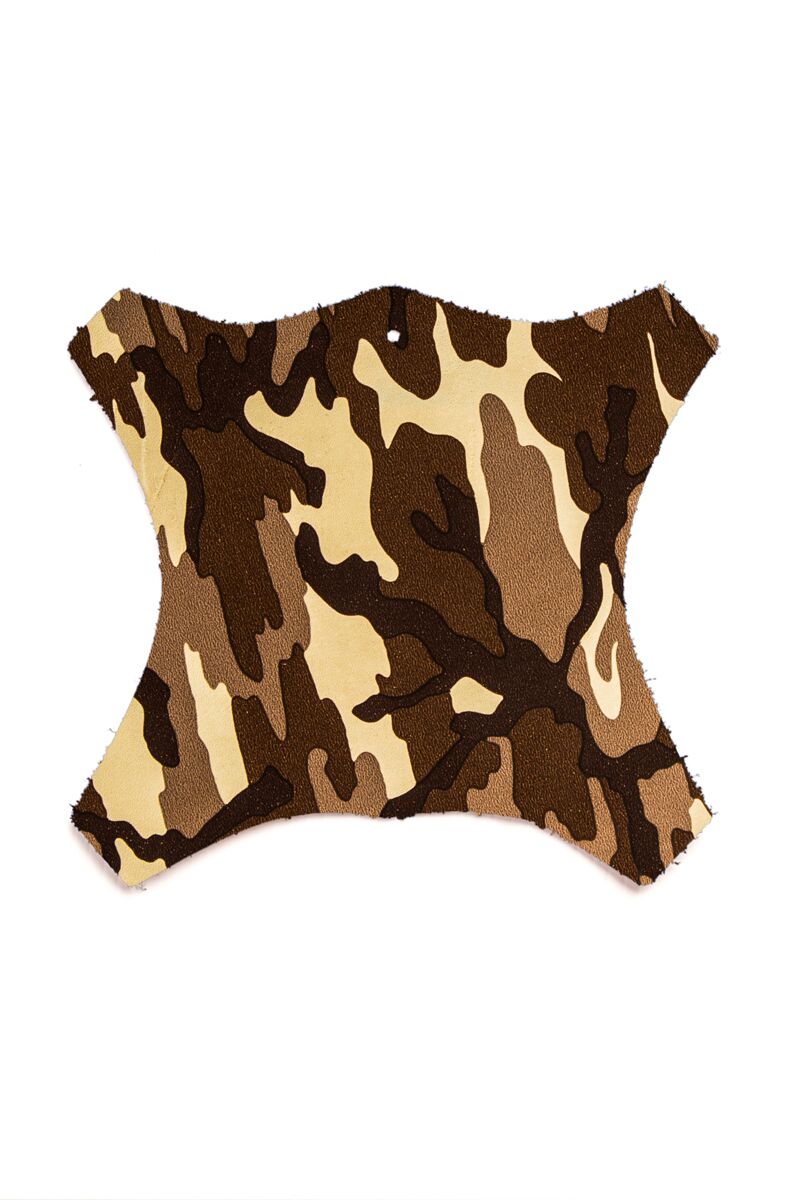
Model Main Colour* Hot Pink Leopard Pink Multi Snake Flower Power Brown Cow Hide Brown Leopard Zebra Orange Multi Snake Camo Brown Camo
Top Detail Top Detail* Small Curve Triple Small Curve Double Small Curve Small Curve with Crystals Small Curve + Brouge Stitching inset Curve with Crystals Small Curve with Strip Small Curve of Brouge Stitching Strip on Side Heart Shaped Curve V with Diamonte Double Contrast V Wide V Wide V with Crystals Half Moon with or without Diamonte Curved Hunting Straight Hunting
Top Detail Color Category* Black & Grey Brown & Tan Blue & Green Red Pink & Purple Grey Metallic & Bright Wild & Print
Top Detail Colour* Red Red Croc Red Patent Bordeaux Mottles Bordeaux Wine Polished Antique Bordeaux Antique Bordeaux Croc Patent Bordeaux Croc Baby Pink Baby Pink Suede Acid Pink Pink Berries Mottled Pink Patent Hot Pink Patent Rose Iguana Purple Grapes Patent Purple
Top Detail Colour* Black Mid Shine Black Polished Black Nubuck Black Black Croc Black Iguana Patent Black Patent Black Croc
Top Detail Colour* Milk Chocolate Brown Chocolate Brown Nubuck Brown Chestnut Brown Beige Light Tan Medium Tan Light Tan Suede Medium Tan Suede Chocolate Tan Suede Chocolate Brown Suede Acid Brown Polished Antique Light Tan Suede Brown Croc Milk Chocolate Crock Chocolate Brown Croc Tan Ostrich Chocolate Brown Ostrich Tan Iguana Patent Café Lait Patent Chocolate Brown Patent Chocolate Brown Croc
Top Detail Colour* Metallic Aqua Metallic Royal Blue Metallic Gold Metallic Rose Gold Metallic Silver Metallic Midnight Blue Patent Neon Yellow Hermes Orange
Top Detail Colour* Medium Grey Patent Light grey Light Grey Croc Patent Grey Croc
Top Detail Colour* Dark Navy Blue Mid Shine Navy Blue Acid Navy Blue Navy Blue Croc Patent Navy Blue Patent Navy Blue Croc Patent Navy Blue Cobra Patent Navy Blue Iguana Medium Tan Suede Patent Petrol Iguana Royal Blue Royal Blue Suede Royal Blue Croc Patent Royal Blue Croc Forest Green Green Snakeskin Petrol Green
Top Detail Colour* Hot Pink Leopard Pink Multi Snake Flower Power Brown Cow Hide Brown Leopard Zebra Orange Multi Snake Camo Brown Camo
Additional Comments (Top Detail)
Please fully describe your Top Detail requirements ie. colors, crystals etc.
Toe Cap Detail Toe Cap* Plain Toe Brouge Stitching Plain Stitching Brouge with a Floral Punched Toe Plain Stitching with a Floral Punched Toe Heart Shape in Brouge Stitching Wide Heart Shape with Brouge Stitching Heart Shape with Brouge Stitching and a Floral Punched Toe Heart Shape with Plain Stitching Floral Punched Toe
Toe Cap Main Colour Category* Black & Grey Brown & Tan Blue & Green Red Pink & Purple Grey Metallic & Bright Wild & Print
Toe Cap Main Colour* Red Red Croc Red Patent Bordeaux Mottles Bordeaux Wine Polished Antique Bordeaux Antique Bordeaux Croc Patent Bordeaux Croc Baby Pink Baby Pink Suede Acid Pink Pink Berries Mottled Pink Patent Hot Pink Patent Rose Iguana Purple Grapes Patent Purple
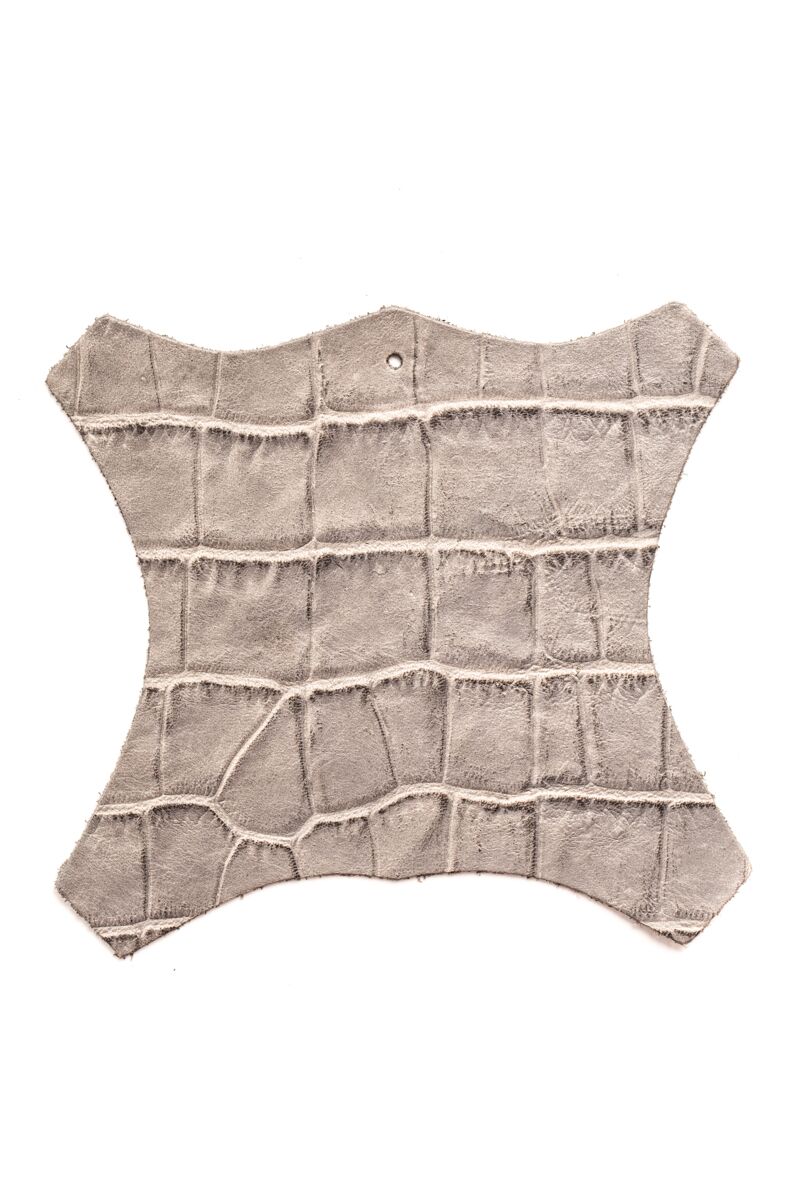
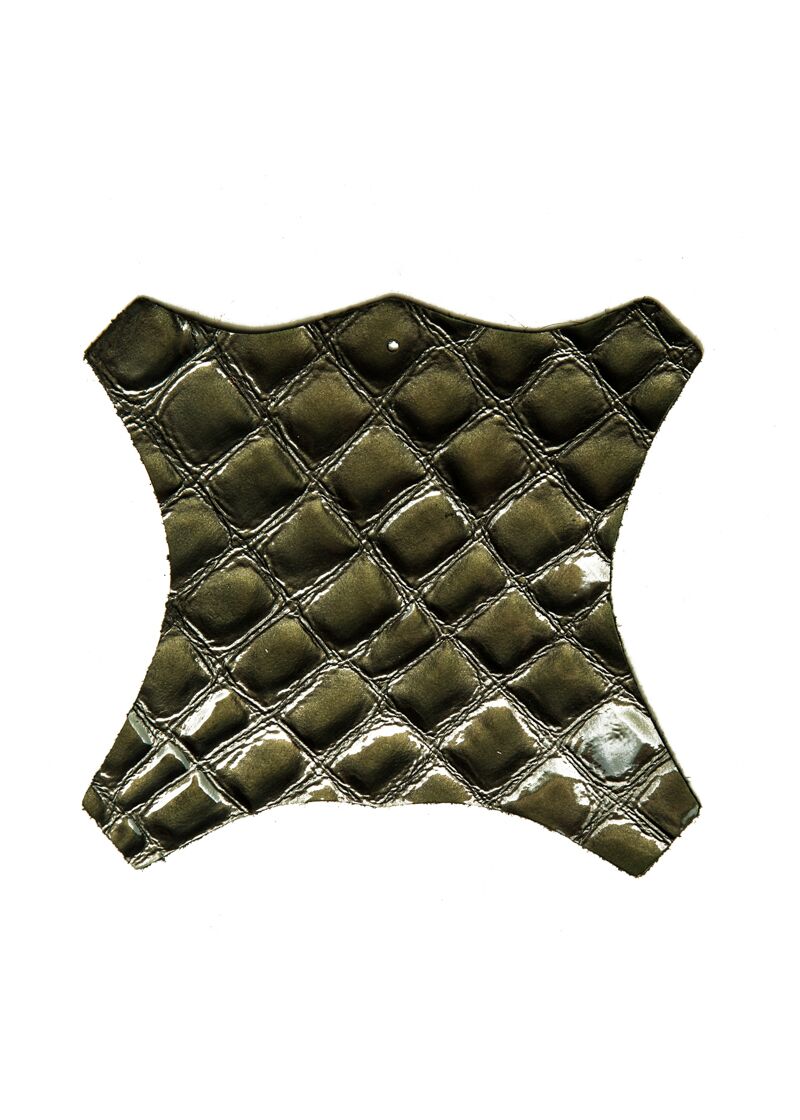
Toe Cap Main Colour* Black Mid Shine Black Polished Black Nubuck Black Black Croc Black Iguana Patent Black Patent Black Croc
Toe Cap Main Colour* Dark Navy Blue Mid Shine Navy Blue Acid Navy Blue Navy Blue Croc Patent Navy Blue Patent Navy Blue Croc Patent Navy Blue Cobra Patent Navy Blue Iguana Medium Tan Suede Patent Petrol Iguana Royal Blue Royal Blue Suede Royal Blue Croc Patent Royal Blue Croc Forest Green Green Snakeskin Petrol Green
Toe Cap Main Colour* Medium Grey Patent Light grey Light Grey Croc Patent Grey Croc
Toe Cap Main Colour* Metallic Aqua Metallic Royal Blue Metallic Gold Metallic Rose Gold Metallic Silver Metallic Midnight Blue Patent Neon Yellow Hermes Orange
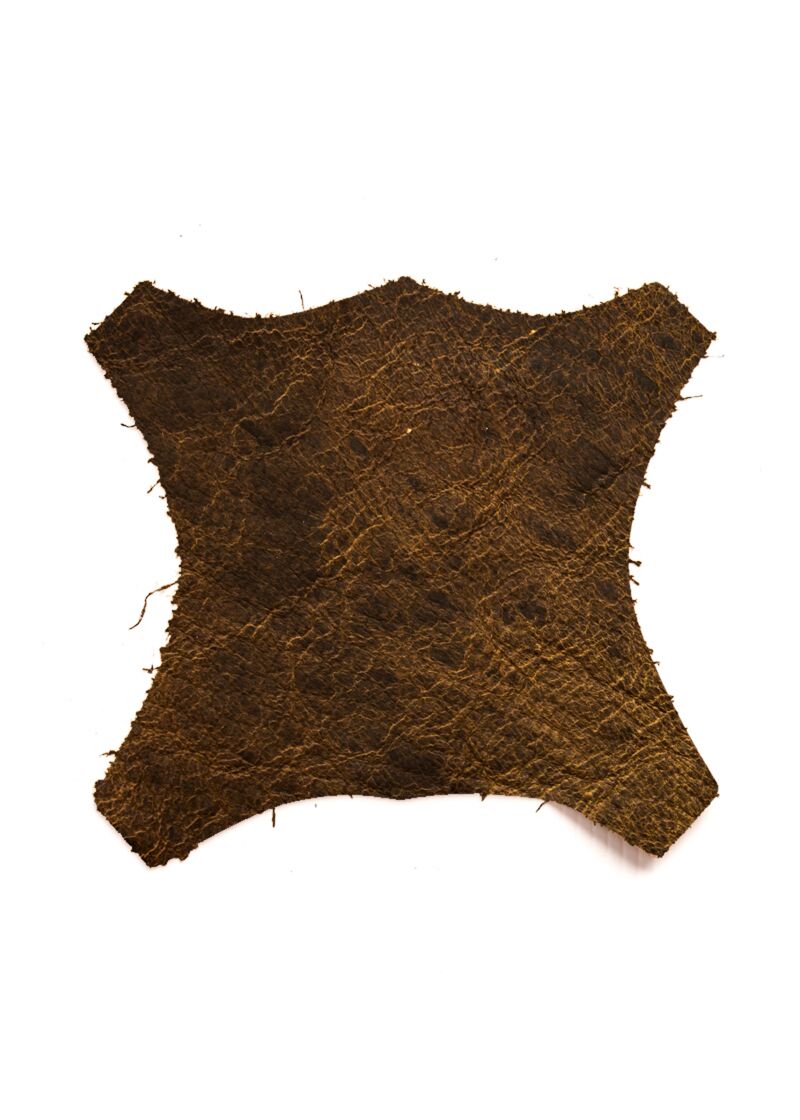
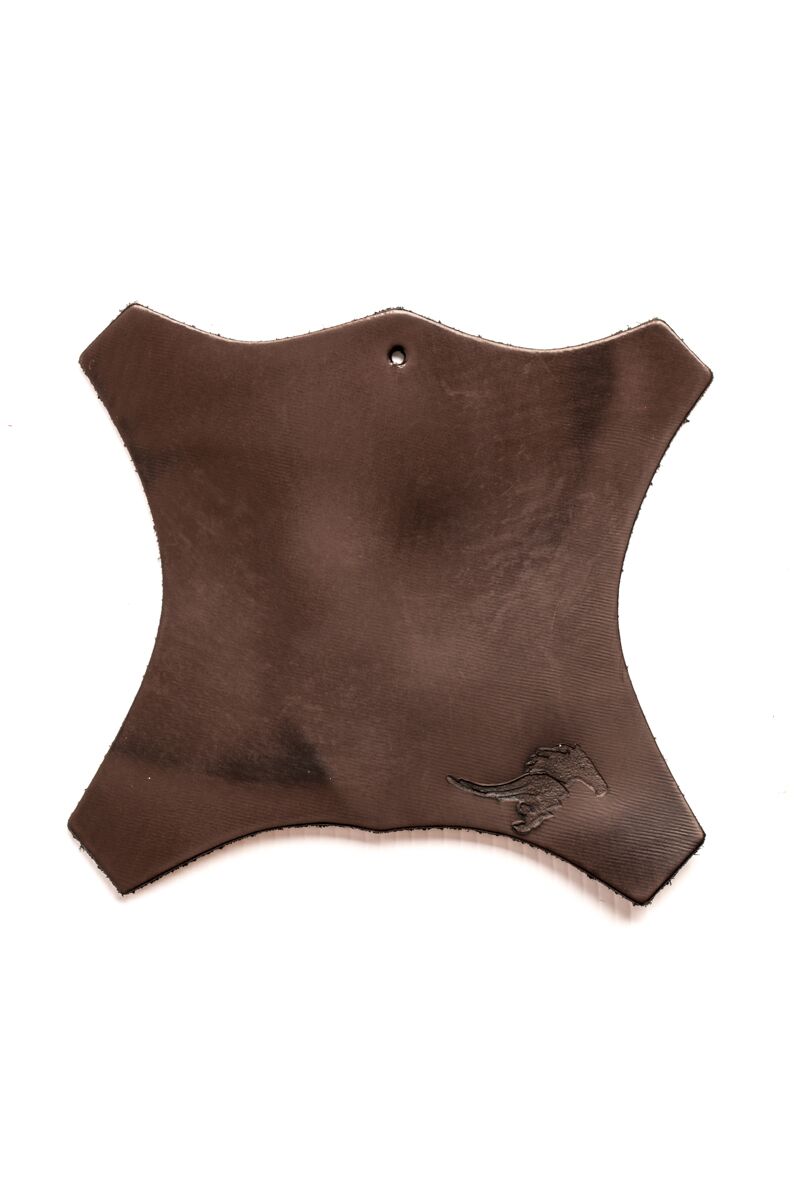
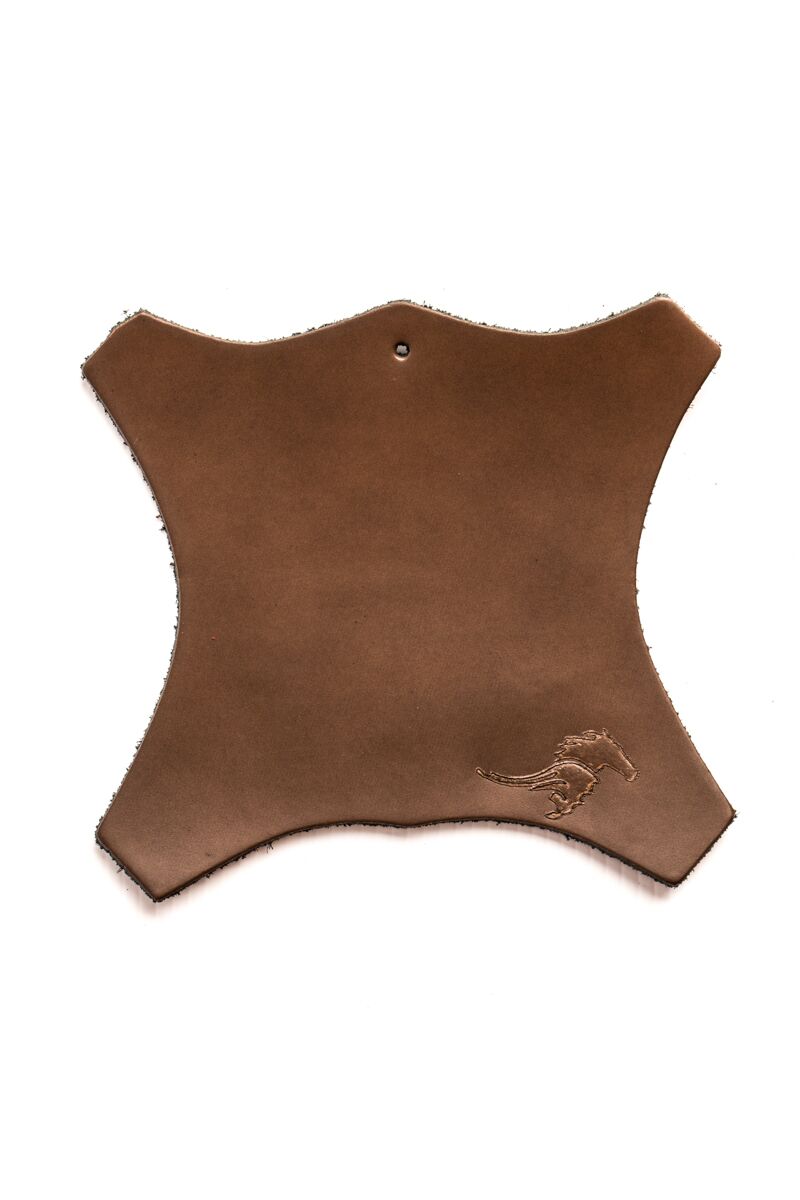
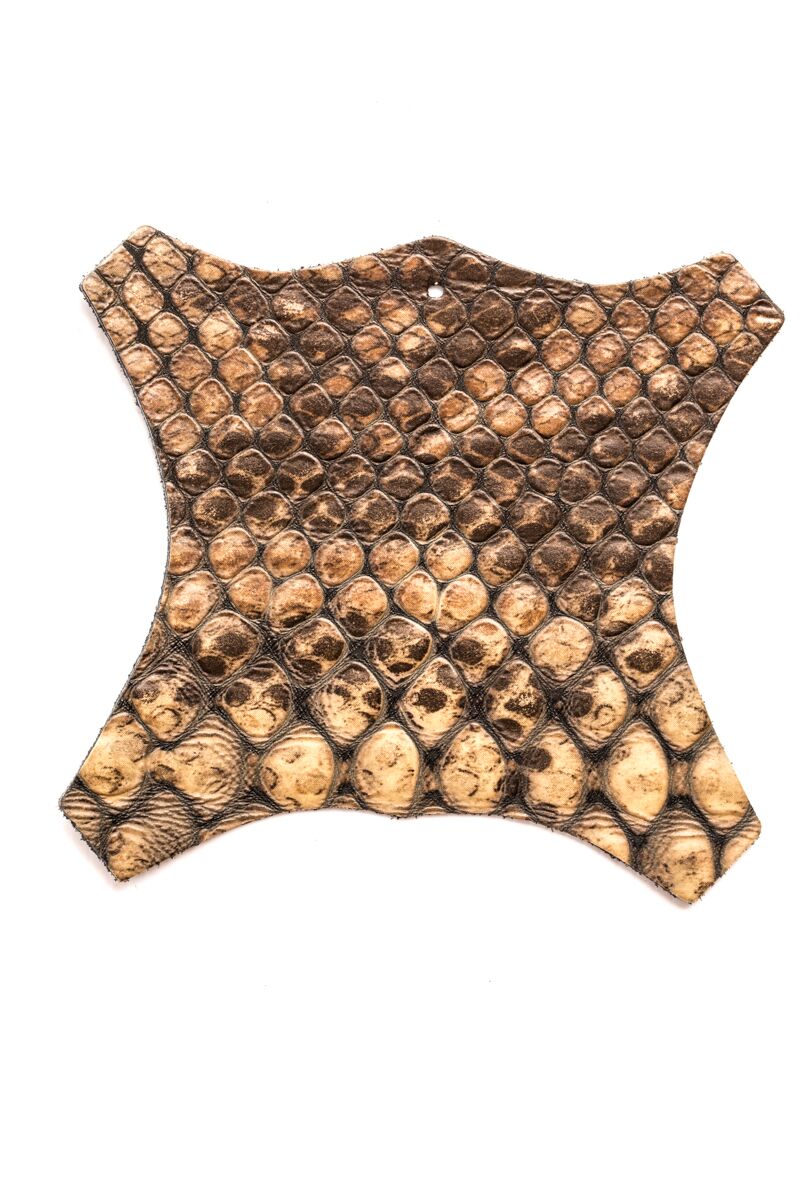
Toe Cap Main Colour* Milk Chocolate Brown Chocolate Brown Nubuck Brown Chestnut Brown Beige Light Tan Medium Tan Light Tan Suede Medium Tan Suede Chocolate Tan Suede Chocolate Brown Suede Acid Brown Polished Antique Light Tan Suede Brown Croc Milk Chocolate Crock Chocolate Brown Croc Tan Ostrich Chocolate Brown Ostrich Tan Iguana Patent Café Lait Patent Chocolate Brown Patent Chocolate Brown Croc
Toe Cap Main Colour* Hot Pink Leopard Pink Multi Snake Flower Power Brown Cow Hide Brown Leopard Zebra Orange Multi Snake Camo Brown Camo
Additional Comments (Toe Cap)
Inside Panel Color* Black Mid Shine Black Nubuck Black Milk Chocolate Brown Chocolate Brown Nubuck Brown Beige Light Tan Medium Tan Dark Navy Blue Mid Shine Blue Royal Blue Forest Green Petrol Green Red Bordeaux Wine Baby Pink Purple Grape Medium Grey Hermes Orange
Other Details Boot Spine Color Category* Black & Grey Brown & Tan Blue & Green Red Pink & Purple Grey Metallic & Bright Wild & Print
Boot Spine Color* Hot Pink Leopard Pink Multi Snake Flower Power Brown Cow Hide Brown Leopard Zebra Orange Multi Snake Camo Brown Camo
Boot Spine Color* Hot Pink Leopard Pink Multi Snake Flower Power Brown Cow Hide Brown Leopard Zebra Orange Multi Snake Camo Brown Camo
Boot Spine Color* Hot Pink Leopard Pink Multi Snake Flower Power Brown Cow Hide Brown Leopard Zebra Orange Multi Snake Camo Brown Camo
Boot Spine Color* Hot Pink Leopard Pink Multi Snake Flower Power Brown Cow Hide Brown Leopard Zebra Orange Multi Snake Camo Brown Camo
Boot Spine Color* Hot Pink Leopard Pink Multi Snake Flower Power Brown Cow Hide Brown Leopard Zebra Orange Multi Snake Camo Brown Camo
Boot Spine Color* Hot Pink Leopard Pink Multi Snake Flower Power Brown Cow Hide Brown Leopard Zebra Orange Multi Snake Camo Brown Camo
Boot Spine Color* Hot Pink Leopard Pink Multi Snake Flower Power Brown Cow Hide Brown Leopard Zebra Orange Multi Snake Camo Brown Camo
Boot Spine Color* Red Red Croc Red Patent Bordeaux Mottles Bordeaux Wine Polished Antique Bordeaux Antique Bordeaux Croc Patent Bordeaux Croc Baby Pink Baby Pink Suede Acid Pink Pink Berries Mottled Pink Patent Hot Pink Patent Rose Iguana Purple Grapes Patent Purple
Boot Spine Color* Red Red Croc Red Patent Bordeaux Mottles Bordeaux Wine Polished Antique Bordeaux Antique Bordeaux Croc Patent Bordeaux Croc Baby Pink Baby Pink Suede Acid Pink Pink Berries Mottled Pink Patent Hot Pink Patent Rose Iguana Purple Grapes Patent Purple
Boot Spine Color* Red Red Croc Red Patent Bordeaux Mottles Bordeaux Wine Polished Antique Bordeaux Antique Bordeaux Croc Patent Bordeaux Croc Baby Pink Baby Pink Suede Acid Pink Pink Berries Mottled Pink Patent Hot Pink Patent Rose Iguana Purple Grapes Patent Purple
Boot Spine Color* Red Red Croc Red Patent Bordeaux Mottles Bordeaux Wine Polished Antique Bordeaux Antique Bordeaux Croc Patent Bordeaux Croc Baby Pink Baby Pink Suede Acid Pink Pink Berries Mottled Pink Patent Hot Pink Patent Rose Iguana Purple Grapes Patent Purple
Boot Spine Color* Red Red Croc Red Patent Bordeaux Mottles Bordeaux Wine Polished Antique Bordeaux Antique Bordeaux Croc Patent Bordeaux Croc Baby Pink Baby Pink Suede Acid Pink Pink Berries Mottled Pink Patent Hot Pink Patent Rose Iguana Purple Grapes Patent Purple
Boot Spine Color* Red Red Croc Red Patent Bordeaux Mottles Bordeaux Wine Polished Antique Bordeaux Antique Bordeaux Croc Patent Bordeaux Croc Baby Pink Baby Pink Suede Acid Pink Pink Berries Mottled Pink Patent Hot Pink Patent Rose Iguana Purple Grapes Patent Purple
Boot Spine Color* Red Red Croc Red Patent Bordeaux Mottles Bordeaux Wine Polished Antique Bordeaux Antique Bordeaux Croc Patent Bordeaux Croc Baby Pink Baby Pink Suede Acid Pink Pink Berries Mottled Pink Patent Hot Pink Patent Rose Iguana Purple Grapes Patent Purple
Boot Spine Color* Black Mid Shine Black Polished Black Nubuck Black Black Croc Black Iguana Patent Black Patent Black Croc
Boot Spine Color* Black Mid Shine Black Polished Black Nubuck Black Black Croc Black Iguana Patent Black Patent Black Croc
Boot Spine Color* Black Mid Shine Black Polished Black Nubuck Black Black Croc Black Iguana Patent Black Patent Black Croc
Boot Spine Color* Black Mid Shine Black Polished Black Nubuck Black Black Croc Black Iguana Patent Black Patent Black Croc
Boot Spine Color* Black Mid Shine Black Polished Black Nubuck Black Black Croc Black Iguana Patent Black Patent Black Croc
Boot Spine Color* Black Mid Shine Black Polished Black Nubuck Black Black Croc Black Iguana Patent Black Patent Black Croc
Boot Spine Color* Black Mid Shine Black Polished Black Nubuck Black Black Croc Black Iguana Patent Black Patent Black Croc
Boot Spine Color* Dark Navy Blue Mid Shine Navy Blue Acid Navy Blue Navy Blue Croc Patent Navy Blue Patent Navy Blue Croc Patent Navy Blue Cobra Patent Navy Blue Iguana Medium Tan Suede Patent Petrol Iguana Royal Blue Royal Blue Suede Royal Blue Croc Patent Royal Blue Croc Forest Green Green Snakeskin Petrol Green
Boot Spine Color* Dark Navy Blue Mid Shine Navy Blue Acid Navy Blue Navy Blue Croc Patent Navy Blue Patent Navy Blue Croc Patent Navy Blue Cobra Patent Navy Blue Iguana Medium Tan Suede Patent Petrol Iguana Royal Blue Royal Blue Suede Royal Blue Croc Patent Royal Blue Croc Forest Green Green Snakeskin Petrol Green
Boot Spine Color* Dark Navy Blue Mid Shine Navy Blue Acid Navy Blue Navy Blue Croc Patent Navy Blue Patent Navy Blue Croc Patent Navy Blue Cobra Patent Navy Blue Iguana Medium Tan Suede Patent Petrol Iguana Royal Blue Royal Blue Suede Royal Blue Croc Patent Royal Blue Croc Forest Green Green Snakeskin Petrol Green
Boot Spine Color* Dark Navy Blue Mid Shine Navy Blue Acid Navy Blue Navy Blue Croc Patent Navy Blue Patent Navy Blue Croc Patent Navy Blue Cobra Patent Navy Blue Iguana Medium Tan Suede Patent Petrol Iguana Royal Blue Royal Blue Suede Royal Blue Croc Patent Royal Blue Croc Forest Green Green Snakeskin Petrol Green
Boot Spine Color* Dark Navy Blue Mid Shine Navy Blue Acid Navy Blue Navy Blue Croc Patent Navy Blue Patent Navy Blue Croc Patent Navy Blue Cobra Patent Navy Blue Iguana Medium Tan Suede Patent Petrol Iguana Royal Blue Royal Blue Suede Royal Blue Croc Patent Royal Blue Croc Forest Green Green Snakeskin Petrol Green
Boot Spine Color* Dark Navy Blue Mid Shine Navy Blue Acid Navy Blue Navy Blue Croc Patent Navy Blue Patent Navy Blue Croc Patent Navy Blue Cobra Patent Navy Blue Iguana Medium Tan Suede Patent Petrol Iguana Royal Blue Royal Blue Suede Royal Blue Croc Patent Royal Blue Croc Forest Green Green Snakeskin Petrol Green
Boot Spine Color* Dark Navy Blue Mid Shine Navy Blue Acid Navy Blue Navy Blue Croc Patent Navy Blue Patent Navy Blue Croc Patent Navy Blue Cobra Patent Navy Blue Iguana Medium Tan Suede Patent Petrol Iguana Royal Blue Royal Blue Suede Royal Blue Croc Patent Royal Blue Croc Forest Green Green Snakeskin Petrol Green
Boot Spine Color* Medium Grey Patent Light grey Light Grey Croc Patent Grey Croc
Boot Spine Color* Medium Grey Patent Light grey Light Grey Croc Patent Grey Croc
Boot Spine Color* Medium Grey Patent Light grey Light Grey Croc Patent Grey Croc
Boot Spine Color* Medium Grey Patent Light grey Light Grey Croc Patent Grey Croc
Boot Spine Color* Medium Grey Patent Light grey Light Grey Croc Patent Grey Croc
Boot Spine Color* Medium Grey Patent Light grey Light Grey Croc Patent Grey Croc
Boot Spine Color* Medium Grey Patent Light grey Light Grey Croc Patent Grey Croc
Boot Spine Color* Metallic Aqua Metallic Royal Blue Metallic Gold Metallic Rose Gold Metallic Silver Metallic Midnight Blue Patent Neon Yellow Hermes Orange
Boot Spine Color* Metallic Aqua Metallic Royal Blue Metallic Gold Metallic Rose Gold Metallic Silver Metallic Midnight Blue Patent Neon Yellow Hermes Orange
Boot Spine Color* Metallic Aqua Metallic Royal Blue Metallic Gold Metallic Rose Gold Metallic Silver Metallic Midnight Blue Patent Neon Yellow Hermes Orange
Boot Spine Color* Metallic Aqua Metallic Royal Blue Metallic Gold Metallic Rose Gold Metallic Silver Metallic Midnight Blue Patent Neon Yellow Hermes Orange
Boot Spine Color* Metallic Aqua Metallic Royal Blue Metallic Gold Metallic Rose Gold Metallic Silver Metallic Midnight Blue Patent Neon Yellow Hermes Orange
Boot Spine Color* Metallic Aqua Metallic Royal Blue Metallic Gold Metallic Rose Gold Metallic Silver Metallic Midnight Blue Patent Neon Yellow Hermes Orange
Boot Spine Color* Metallic Aqua Metallic Royal Blue Metallic Gold Metallic Rose Gold Metallic Silver Metallic Midnight Blue Patent Neon Yellow Hermes Orange
Boot Spine Color* Milk Chocolate Brown Chocolate Brown Nubuck Brown Chestnut Brown Beige Light Tan Medium Tan Light Tan Suede Medium Tan Suede Chocolate Tan Suede Chocolate Brown Suede Acid Brown Polished Antique Light Tan Suede Brown Croc Milk Chocolate Crock Chocolate Brown Croc Tan Ostrich Chocolate Brown Ostrich Tan Iguana Patent Café Lait Patent Chocolate Brown Patent Chocolate Brown Croc
Boot Spine Color* Milk Chocolate Brown Chocolate Brown Nubuck Brown Chestnut Brown Beige Light Tan Medium Tan Light Tan Suede Medium Tan Suede Chocolate Tan Suede Chocolate Brown Suede Acid Brown Polished Antique Light Tan Suede Brown Croc Milk Chocolate Crock Chocolate Brown Croc Tan Ostrich Chocolate Brown Ostrich Tan Iguana Patent Café Lait Patent Chocolate Brown Patent Chocolate Brown Croc
Boot Spine Color* Milk Chocolate Brown Chocolate Brown Nubuck Brown Chestnut Brown Beige Light Tan Medium Tan Light Tan Suede Medium Tan Suede Chocolate Tan Suede Chocolate Brown Suede Acid Brown Polished Antique Light Tan Suede Brown Croc Milk Chocolate Crock Chocolate Brown Croc Tan Ostrich Chocolate Brown Ostrich Tan Iguana Patent Café Lait Patent Chocolate Brown Patent Chocolate Brown Croc
Boot Spine Color* Milk Chocolate Brown Chocolate Brown Nubuck Brown Chestnut Brown Beige Light Tan Medium Tan Light Tan Suede Medium Tan Suede Chocolate Tan Suede Chocolate Brown Suede Acid Brown Polished Antique Light Tan Suede Brown Croc Milk Chocolate Crock Chocolate Brown Croc Tan Ostrich Chocolate Brown Ostrich Tan Iguana Patent Café Lait Patent Chocolate Brown Patent Chocolate Brown Croc
Boot Spine Color* Milk Chocolate Brown Chocolate Brown Nubuck Brown Chestnut Brown Beige Light Tan Medium Tan Light Tan Suede Medium Tan Suede Chocolate Tan Suede Chocolate Brown Suede Acid Brown Polished Antique Light Tan Suede Brown Croc Milk Chocolate Crock Chocolate Brown Croc Tan Ostrich Chocolate Brown Ostrich Tan Iguana Patent Café Lait Patent Chocolate Brown Patent Chocolate Brown Croc
Boot Spine Color* Milk Chocolate Brown Chocolate Brown Nubuck Brown Chestnut Brown Beige Light Tan Medium Tan Light Tan Suede Medium Tan Suede Chocolate Tan Suede Chocolate Brown Suede Acid Brown Polished Antique Light Tan Suede Brown Croc Milk Chocolate Crock Chocolate Brown Croc Tan Ostrich Chocolate Brown Ostrich Tan Iguana Patent Café Lait Patent Chocolate Brown Patent Chocolate Brown Croc
Boot Spine Color* Milk Chocolate Brown Chocolate Brown Nubuck Brown Chestnut Brown Beige Light Tan Medium Tan Light Tan Suede Medium Tan Suede Chocolate Tan Suede Chocolate Brown Suede Acid Brown Polished Antique Light Tan Suede Brown Croc Milk Chocolate Crock Chocolate Brown Croc Tan Ostrich Chocolate Brown Ostrich Tan Iguana Patent Café Lait Patent Chocolate Brown Patent Chocolate Brown Croc
With Bottom Buckle* Yes No
Spur Strap and Guards Color Category* Black & Grey Brown & Tan Blue & Green Red Pink & Purple Grey Metallic & Bright Wild & Print
Spur Strap and Guards Colors* Red Red Croc Red Patent Bordeaux Mottles Bordeaux Wine Polished Antique Bordeaux Antique Bordeaux Croc Patent Bordeaux Croc Baby Pink Baby Pink Suede Acid Pink Pink Berries Mottled Pink Patent Hot Pink Patent Rose Iguana Purple Grapes Patent Purple
Spur Strap and Guards Colors* Black Mid Shine Black Polished Black Nubuck Black Black Croc Black Iguana Patent Black Patent Black Croc
Spur Strap and Guards Colors* Dark Navy Blue Mid Shine Navy Blue Acid Navy Blue Navy Blue Croc Patent Navy Blue Patent Navy Blue Croc Patent Navy Blue Cobra Patent Navy Blue Iguana Medium Tan Suede Patent Petrol Iguana Royal Blue Royal Blue Suede Royal Blue Croc Patent Royal Blue Croc Forest Green Green Snakeskin Petrol Green
Spur Strap and Guards Colors* Medium Grey Patent Light grey Light Grey Croc Patent Grey Croc
Spur Strap and Guards Colors* Metallic Aqua Metallic Royal Blue Metallic Gold Metallic Rose Gold Metallic Silver Metallic Midnight Blue Patent Neon Yellow Hermes Orange
Spur Strap and Guards Colors* Milk Chocolate Brown Chocolate Brown Nubuck Brown Chestnut Brown Beige Light Tan Medium Tan Light Tan Suede Medium Tan Suede Chocolate Tan Suede Chocolate Brown Suede Acid Brown Polished Antique Light Tan Suede Brown Croc Milk Chocolate Crock Chocolate Brown Croc Tan Ostrich Chocolate Brown Ostrich Tan Iguana Patent Café Lait Patent Chocolate Brown Patent Chocolate Brown Croc
Spur Strap and Guards Colors* Hot Pink Leopard Pink Multi Snake Flower Power Brown Cow Hide Brown Leopard Zebra Orange Multi Snake Camo Brown Camo
Zip Protection Strap Color Category* Black & Grey Brown & Tan Blue & Green Red Pink & Purple Grey Metallic & Bright Wild & Print
Zip Protection Strap Color* Black Mid Shine Black Polished Black Nubuck Black Black Croc Black Iguana Patent Black Patent Black Croc
Zip Protection Strap Color* Red Red Croc Red Patent Bordeaux Mottles Bordeaux Wine Polished Antique Bordeaux Antique Bordeaux Croc Patent Bordeaux Croc Baby Pink Baby Pink Suede Acid Pink Pink Berries Mottled Pink Patent Hot Pink Patent Rose Iguana Purple Grapes Patent Purple
Zip Protection Strap Color* Dark Navy Blue Mid Shine Navy Blue Acid Navy Blue Navy Blue Croc Patent Navy Blue Patent Navy Blue Croc Patent Navy Blue Cobra Patent Navy Blue Iguana Medium Tan Suede Patent Petrol Iguana Royal Blue Royal Blue Suede Royal Blue Croc Patent Royal Blue Croc Forest Green Green Snakeskin Petrol Green
Zip Protection Strap Color* Medium Grey Patent Light grey Light Grey Croc Patent Grey Croc
Zip Protection Strap Color* Metallic Aqua Metallic Royal Blue Metallic Gold Metallic Rose Gold Metallic Silver Metallic Midnight Blue Patent Neon Yellow Hermes Orange
Zip Protection Strap Color* Milk Chocolate Brown Chocolate Brown Nubuck Brown Chestnut Brown Beige Light Tan Medium Tan Light Tan Suede Medium Tan Suede Chocolate Tan Suede Chocolate Brown Suede Acid Brown Polished Antique Light Tan Suede Brown Croc Milk Chocolate Crock Chocolate Brown Croc Tan Ostrich Chocolate Brown Ostrich Tan Iguana Patent Café Lait Patent Chocolate Brown Patent Chocolate Brown Croc
Zip Protection Strap Color* Hot Pink Leopard Pink Multi Snake Flower Power Brown Cow Hide Brown Leopard Zebra Orange Multi Snake Camo Brown Camo
Zip Protection Strap* Short Pop Closure Long Pop Closure Long Silver Buckle Closure Long Antique Gold Buckle Closure Long Brass Buckle Closure Long Silver Buckle Closure with Diamantes
Spur Rests* Yes No
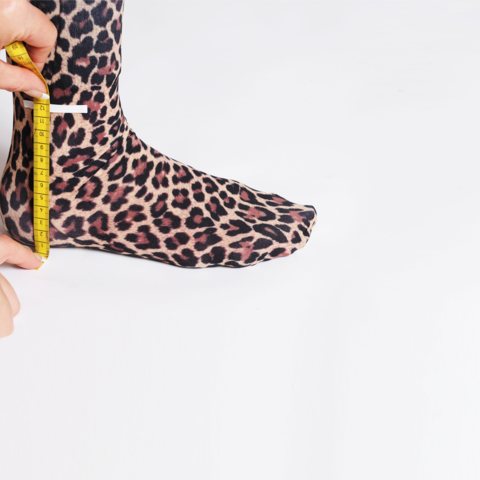
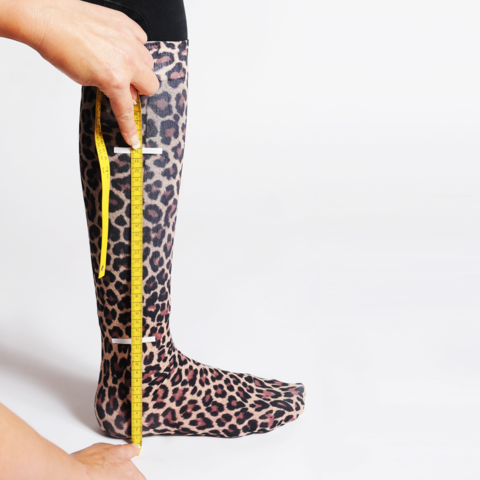
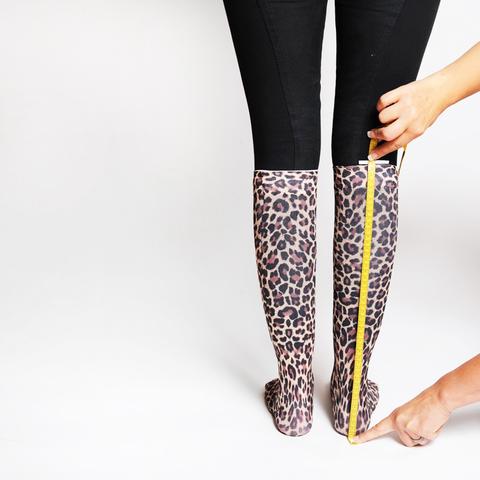
European Size* 33 34 35 36 37 38 39 40 41 42 43 44 45 46
Shoe Fitting (Foot Width)* Regular Wide
Straps* Straps* Buckles* Spurs Straps & Protectors* Color* Black Swatches Brown&Tan Swatches Red, Pink & Purple Swatches Grey Swatches Metallic&Bright Swatches Wild&Print Swatches
Reinforced* This Boot Only comes Fully Reinforced
Additional details:
CAPTCHA